
In our previous guide, we introduced the platform and focused strictly on creating your profile.
If you missed it, you can read the first part here: How to Sell Digital Products on Gumroad: 2026 Beginner’s Guide.
In this article, we will guide you step-by-step through your very first Gumroad product setup, from uploading your files to configuring your payment settings so you can launch successfully.
What Do You Need to Get Started?
Before putting any item up for sale, you need to create two essential images:
- 1280x720px (72 DPI, landscape orientation)
- 600x600px (JPG, PNG, or GIF format)
These images are crucial because they represent the visual identity of your store. You can easily design them in Canva within a few minutes.
All the navigation options we will use for our Gumroad product setup are located on the left sidebar.
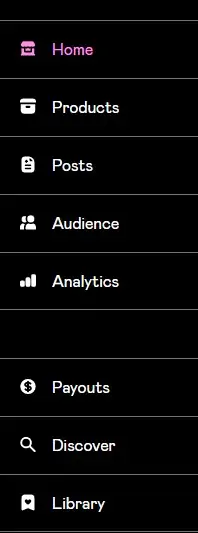
Creating the Product Listing
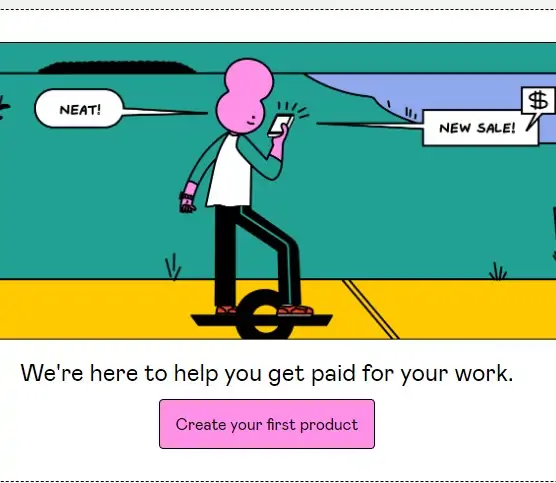
Since this is your first time, navigate to the Product tab and click on Create your first product.
In the panel that opens, fill out the core details for your listing:
- Name: The title of your product.
- Type: The category of your digital or physical item.
- Price: The price in your selected currency.
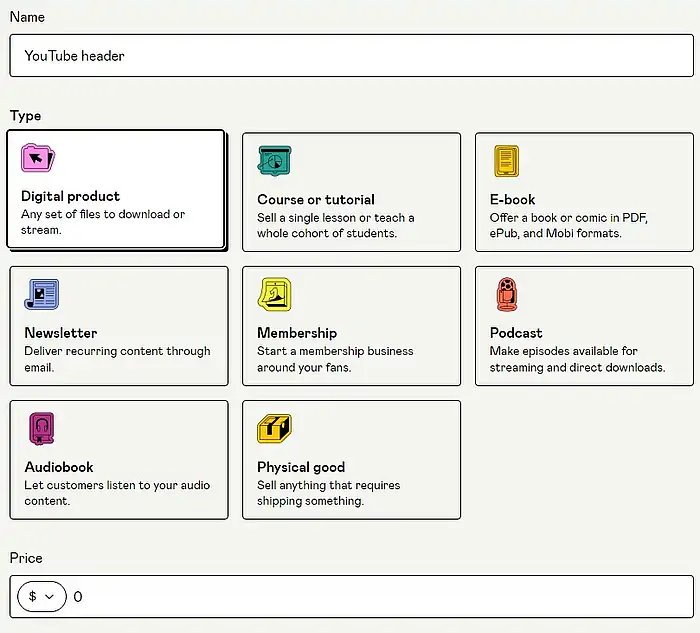
Note: Leaving the price at zero means you want to offer the product for free. This is a highly effective marketing strategy during your initial Gumroad product setup because it helps you build an email list quickly.
Description
Here, you need to write an engaging product description. For our example, we used a YouTube channel banner header, which didn’t require a lengthy text.
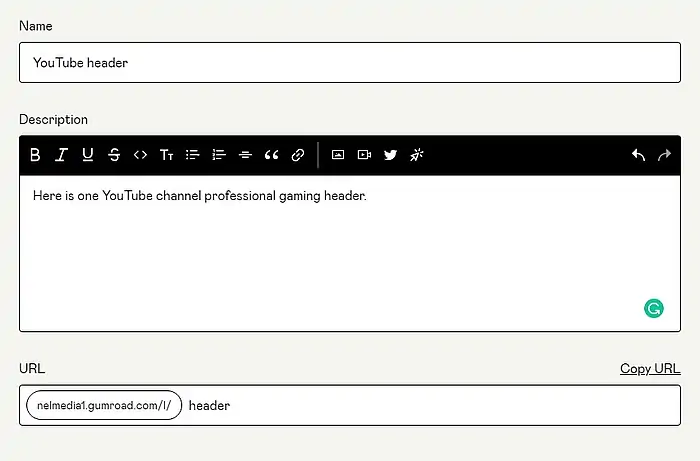
If you want to successfully sell online courses or eBooks, make sure your description is detailed so customers know exactly what they are getting.
URL
The URL is the unique web address you will share on social media to promote your brand. The first part of the link remains identical for all your files, while the second part can be customized.
Cover and Thumbnail
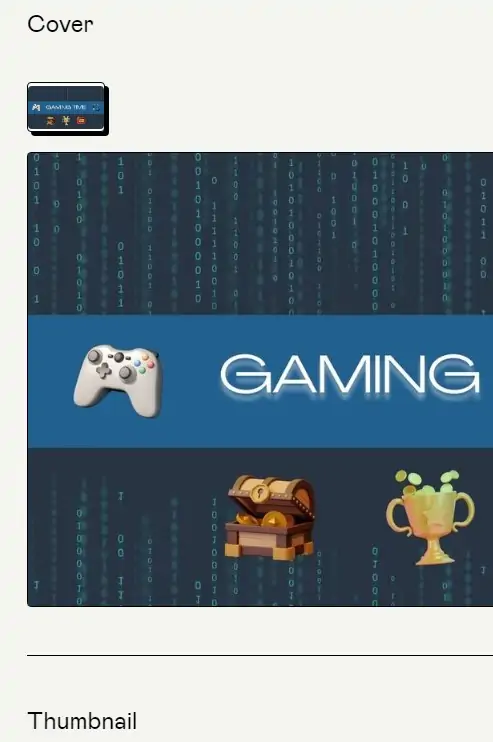
Under Cover, upload your 1280x720px product image. Under Thumbnail, upload the 600x600px image (JPG, PNG, or GIF).
Product Info
- Summary: This will automatically display a snippet of your text.
- Call to action: The text displayed on the button that customers click to make a purchase (e.g., “I want this!”).
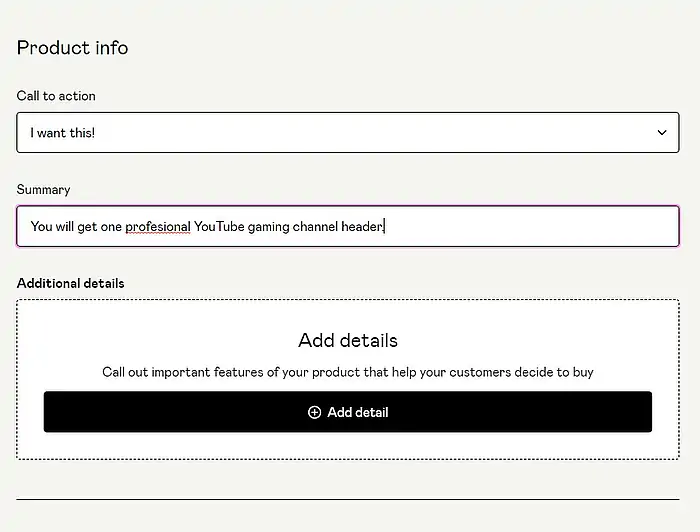
- Additional details: Add extra specifications here if necessary.
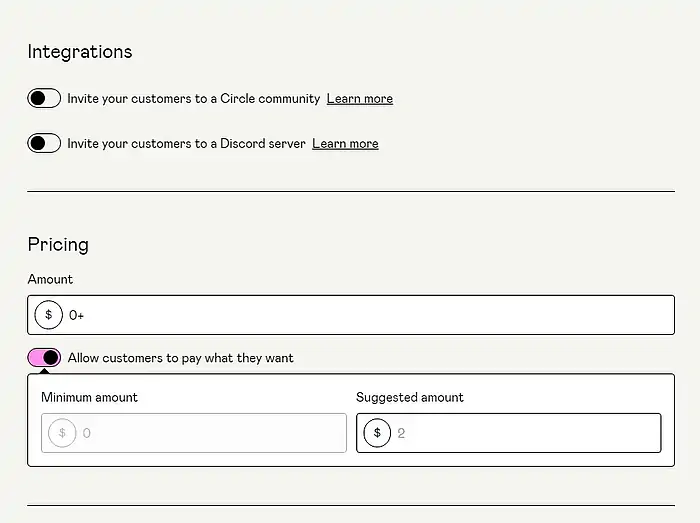
- Integrations: You can connect your products with communities like Circle or Discord to automate user onboarding.
Pricing Options
This section displays the base price you set earlier.
If you enable the “Allow customers to pay what they want” option, you can set a minimum and maximum amount, allowing satisfied users to leave a voluntary tip.
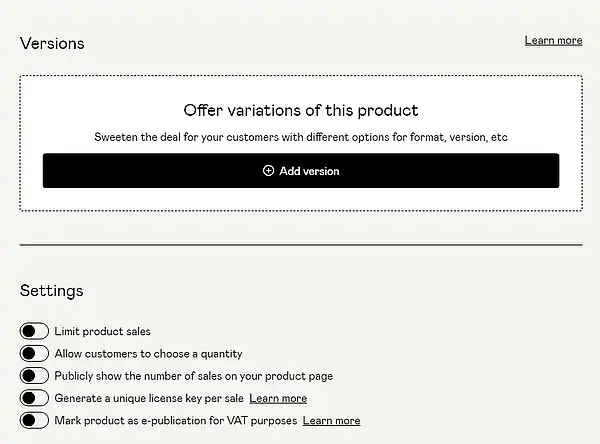
Versions
An essential part of an advanced Gumroad product setup is using tiers. Use this feature if you offer multiple variations of your files (e.g., a Basic tier versus a Premium tier).
Settings
Under Settings, you can toggle several advanced functions:
- Limit product sales: Restricts the total number of times an item can be purchased.
- Allow customers to choose quantity: Ideal for physical goods.
- Publicly show the number of sales: Displays the total sales count next to your page.
- Generate a unique license key: Crucial if you sell software, apps, or games.
- Mark product as an E-publication: Check this if you are selling to EU customers to ensure the correct, lower digital tax rate is applied.
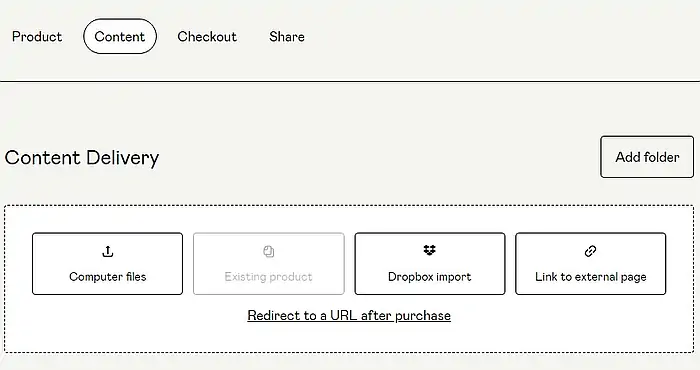
Uploading Your Content
Once all the details are filled out, it’s time to attach your actual digital asset. You can upload the file directly from your computer, import it from Dropbox, or provide an external URL link.
Checkout Configuration
Under Checkout, you can create Discount codes to offer specialized promotional deals.
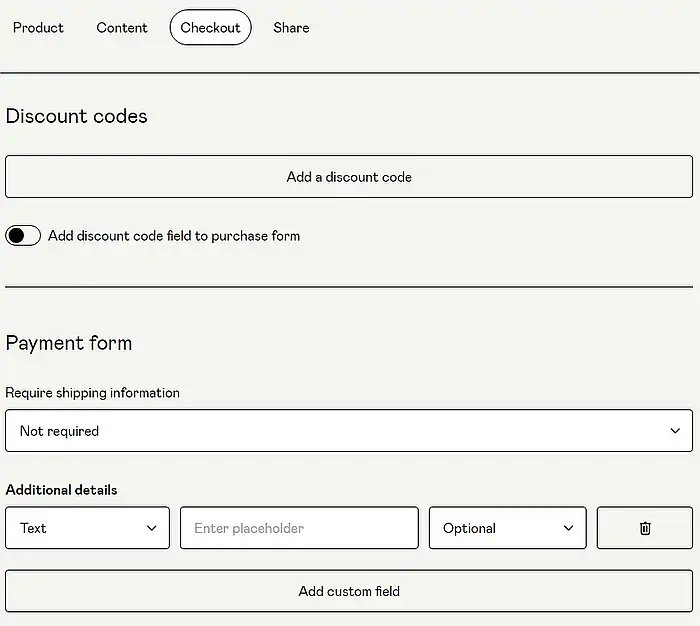
The Payment form sections are mostly utilized for physical products where custom delivery fields are required. This completes your core configuration.
Publishing and Launching
Clicking Publish makes your page instantly live. If you ever need to pause sales, you can click Unpublish. Alternatively, use Save changes if you want to keep working on your draft.
Share and Discover
The Share menu unlocks completely once your store is live. From here, you can share directly to X (Twitter) or Facebook.
- Category: Select an appropriate category from the official list.
- Tags: Input specific keywords that describe your files.
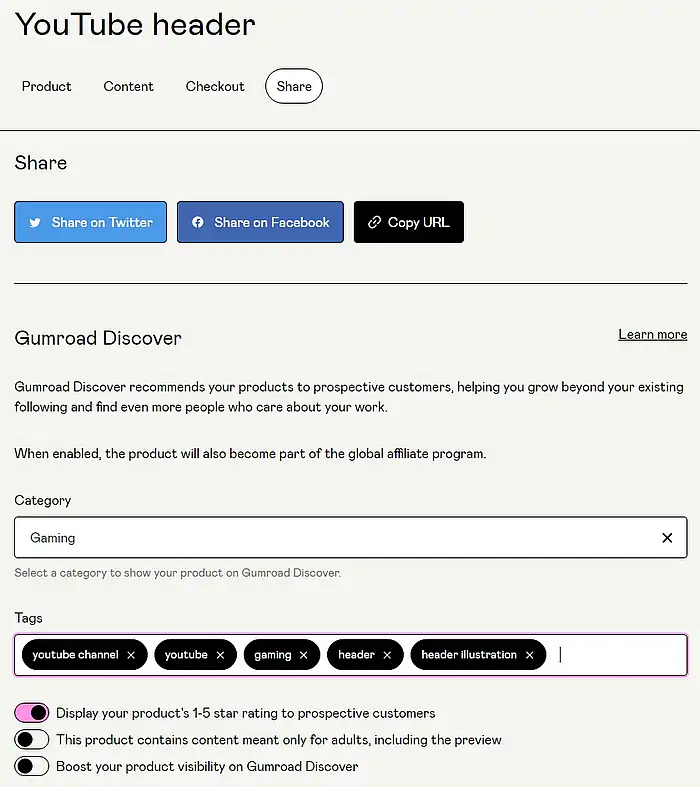
You can also enable a few highly beneficial features here:
- Display your product’s star rating: Allows customers to leave a 1-to-5-star review.
- This product contains content meant only for adults: To be checked if your content is strictly 18+.
- Boost your product visibility (Gumroad Discover): If activated, Gumroad’s built-in marketplace will recommend your work to organic buyers. In exchange, the platform takes a minimum 30% cut of those specific sales.
Activating this feature during your initial Gumroad product setup is an excellent way for beginners to jumpstart traffic and get early sales.
Analytics
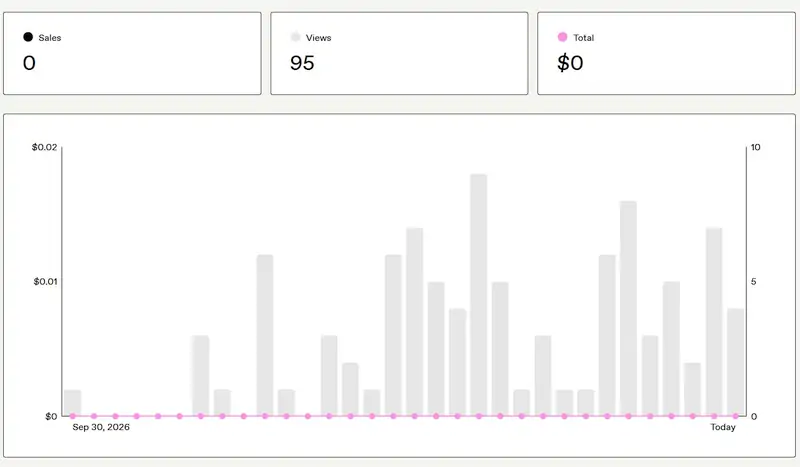
While you can connect external tracking services like Google analytics 4 , Gumroad’s built-in dashboard provides comprehensive insights out of the box. You can seamlessly track your total views, conversion rates, and revenue figures.
Posts
Under the Posts tab, you can write and send updates directly to your audience. This allows you to build a micro-blog or an email newsletter centered around your storefront.
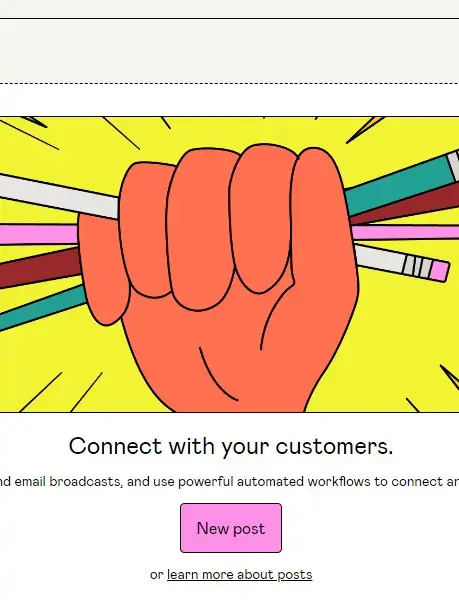
This feature is incredibly valuable for creators who don’t own a personal website, helping you showcase your authority and niche expertise directly to your buyers.
Congratulations! You have officially launched your first offer.
Gumroad product setup : FAQ

Get the latest news!
Useful tips directly to your inbox – once a week, free of charge.
Conclusion
Completing your first Gumroad product setup is a massive milestone toward building a sustainable online business. It securely captures your customer base, allowing you to market future launches easily.
Post your questions in the comments below the text.
Recommended reading
- How to Create a Free Online Shop on Payhip: sell digital products online
- Selling digital products: 10 best ideas for passive income
- Protection of Digital Products: 5 Effective Strategies to Safeguard Your Work
- Printify Guide: Registration and Product Creation
- How to Start an Etsy Shop: Ultimate Beginner’s Guide