Printify Guide: Registration and Product Creation
In this topic, you will learn what Printify is, how to sign up, and how to create your product.
Introduction
In the world of e-commerce, Print on Demand (POD) has become a popular business model that enables entrepreneurs to create and sell customized products without the need for inventory or initial costs.
One of the leading platforms in this field is Printify.
In this post, we will explore the world of Printify, examining its features, benefits, and how it can empower businesses to succeed in the competitive e-commerce world.
- Introduction
- What is Printify?
- Getting Started with Printify
- Registration
- Product Design
- Selecting a Printing Service
- How to Choose a Printing Service?
- Product Editor
- Uploading Images
- Image Formats
- Product Preview
- Neck label
- Product Colors
- Mockups
- Listing Details
- Setting Prices
- Printify Store Settings
- Printify Wallet
- Order Creation
- Printify Premium
- Connecting Printify and online stores
- Frequently Asked Questions
- Conclusion
- Suggested reading
- Get the latest news!
What is Printify?
Printify is an on-demand printing platform that connects online store owners with a network of printers.

It simplifies creating and selling customized products by handling printing, packaging, and delivery, while business owners focus on design and marketing.
With Printify, entrepreneurs can easily add unique designs to various products, including t-shirts, hoodies, mugs, phone cases, and more.
Getting Started with Printify
Registration
When accessing the Printify platform, you need to register.
Simply enter your email address and password.
You can also register using your Google account.
After that, you will be asked questions about yourself, your occupation, and how you learned about this platform.
Then you must choose whether you are a nonprofit organization, a company, an influencer, or a web store owner.

Based on this information, the platform will later offer you certain options.
Product Design
Although you will have more options after registration, we have chosen product design.
We will address other options later.
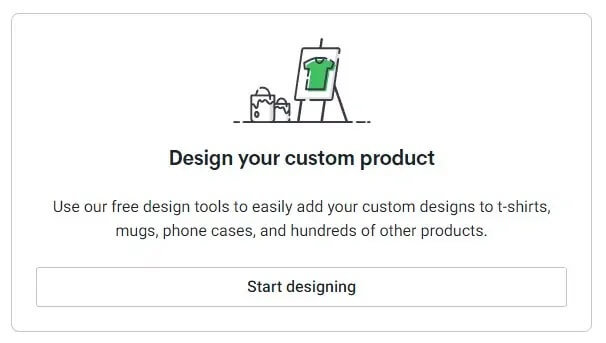
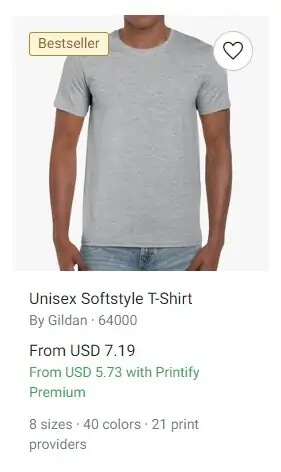
Among dozens of different products, we selected a t-shirt.
Next to each product is the price and the number of colors available.
Selecting a Printing Service
Once you have chosen a product, a window will open with a selection of companies that do the printing.
Next to their names will be the average rating given by other users.
The highest rating is 9.0 and lower.

How to Choose a Printing Service?
It’s advisable to choose a service with a higher rating, considering your market or customers.
If you have an EU web shop, then select a company from the EU to ensure shorter delivery times.
Product Editor
After choosing the company for printing, you’ll reach the product editor.
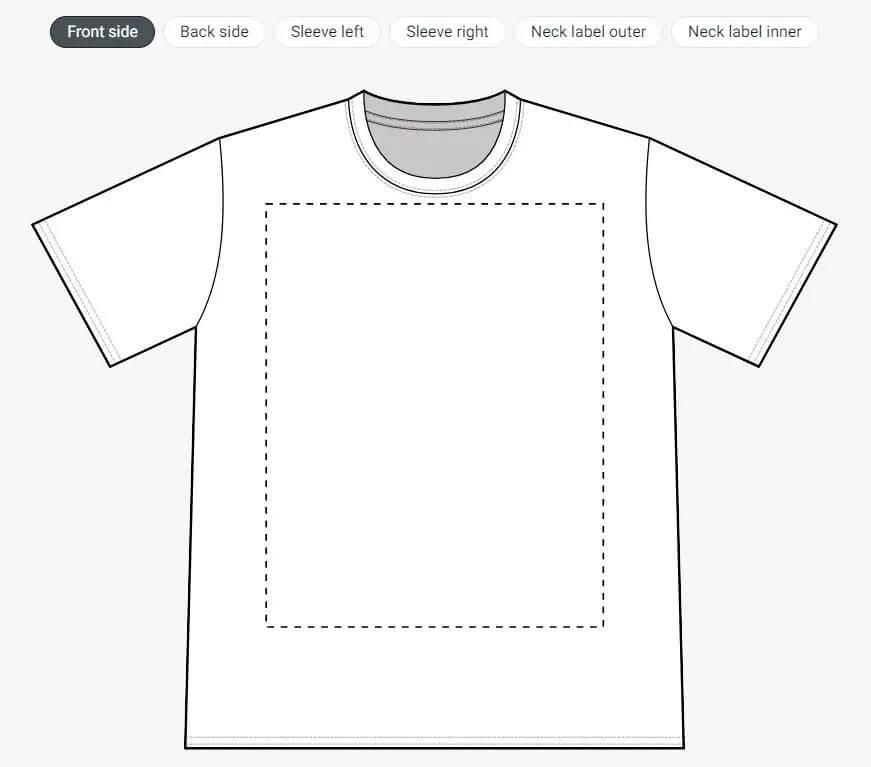
On the main screen, there will be a template of the chosen product (in this case, a t-shirt).
Here, you can place images in several areas on the t-shirt:
- Front side
- Back side
- Sleeve left
- Sleeve right
- Neck label outer
- Neck label inner
For the front and back of the shirt, you will need to use an image with the highest possible resolution.
For branding purposes, you have the option to use your logo or any other image for the sleeves and labels.
Uploading Images
On the right side of the workspace, there is a panel with options for uploading images.
You can upload images from your computer, and generate them using an AI generator (still in testing), from online data storage platforms like Dropbox, Google Drive, or image-selling platforms like Shutterstock.
If you don’t have a prepared image, under Graphics, you can find ready-made templates or enter text under Custom text.
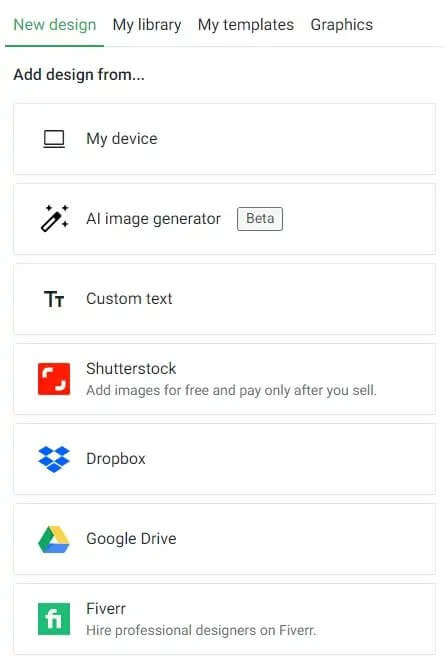
Image Formats
Recommended image formats are JPG and PNG for the front and back of the shirt, with a resolution of 4600x5800px and 300DPI, suitable for printing.
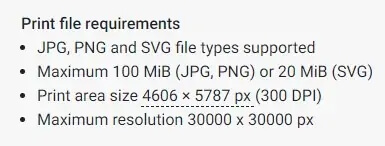
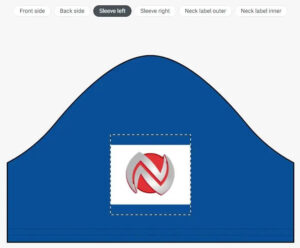
SVG (vector) format is more suitable for sleeves and labels, although you can also use the previously mentioned formats here.
For example, we placed our logo on the left sleeve, leaving the right one blank.
Product Preview
By clicking Preview, you can always review what you’ve done.
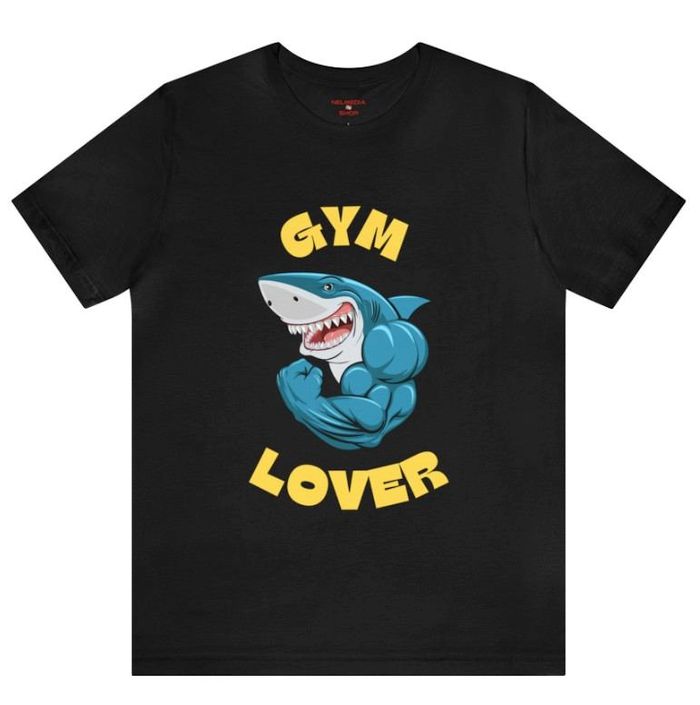
As you can see here is an example of another type of shirt on which you will not be able to place a logo on the sleeve.
But you can do that on the neck label of all articles.
Neck label
The neck label can contain your company’s logo or some other suitable label (above the size label).
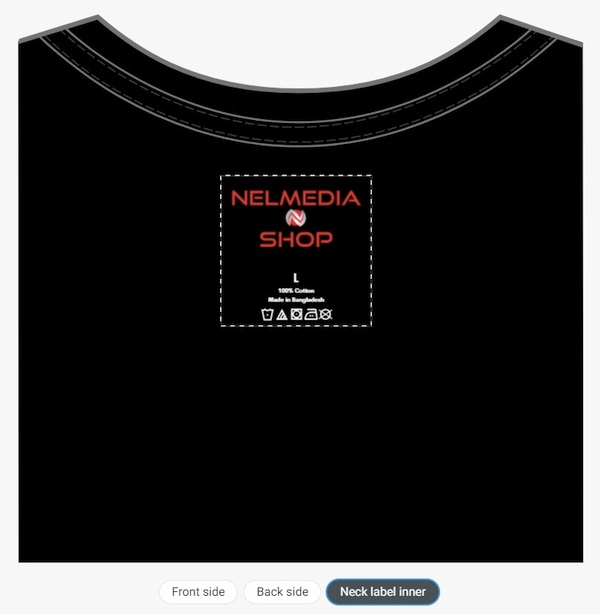
If you use a PNG with a transparent background for this purpose, pay attention to its color, because the label will be in the color of the material of the shirt.
Product Colors
After defining the product, you must also choose its color.
You need to mark all colors you desire and ensure the product color is different from the lettering color; otherwise, the text will not be visible.
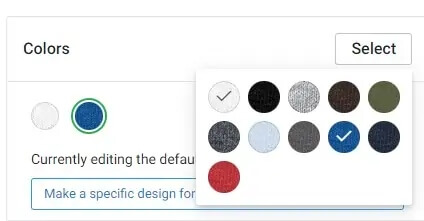
We solve this issue by adding a white border to all letters.
This way, the letters will be visible on any background color.
Mockups
Under Mockups, you can choose which image you want to display in your store.
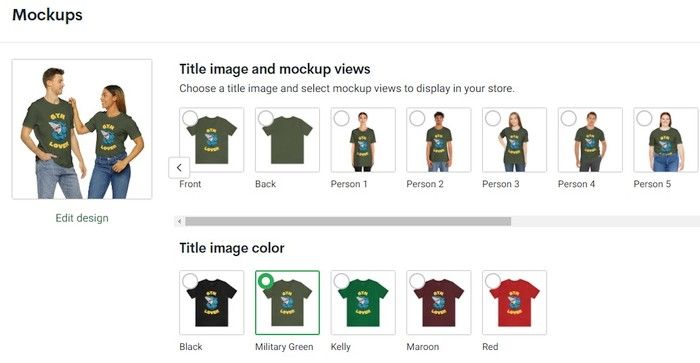
For example, you may want an image of the front and back of the shirt (if printed on both sides) or an image of a specific detail on the shirt.
Listing Details
Under the listing settings, there’s a product description.
The Title will briefly describe the product, and the Description will provide more details.
Printify will already offer titles and descriptions that you can adjust as needed.
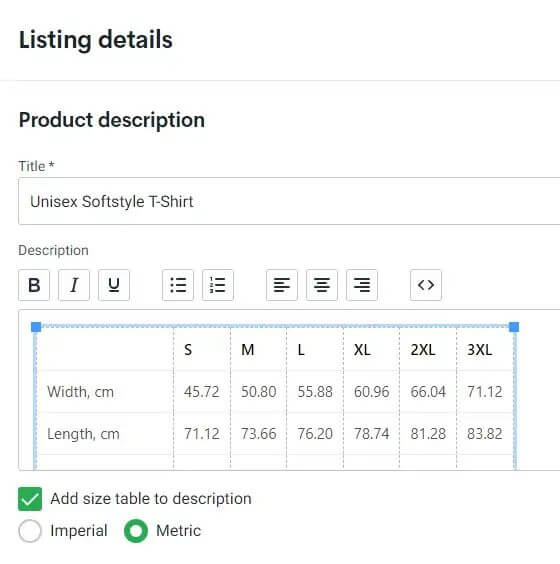
The Add size table option will include a size table in the description.
You can choose the measurement units.
For EU customers, sizes are displayed in centimeters (Metric), while for US customers, sizes are displayed in inches (US Imperial).
Setting Prices
In the Pricing table, define the product’s price. Select sizes – in our example, it’s a t-shirt.
Typically, you’ll choose S, M, L, and XL, and if you want to sell to larger individuals, include 2XL and 3XL.
Under Retail price, you’ll see the retail price of the product and your profit after sales. Printify has calculated all prices, including shipping costs.
Depending on the shirt size, color, and different shipping costs, this price might slightly vary.
It is possible to modify the price at a later time.
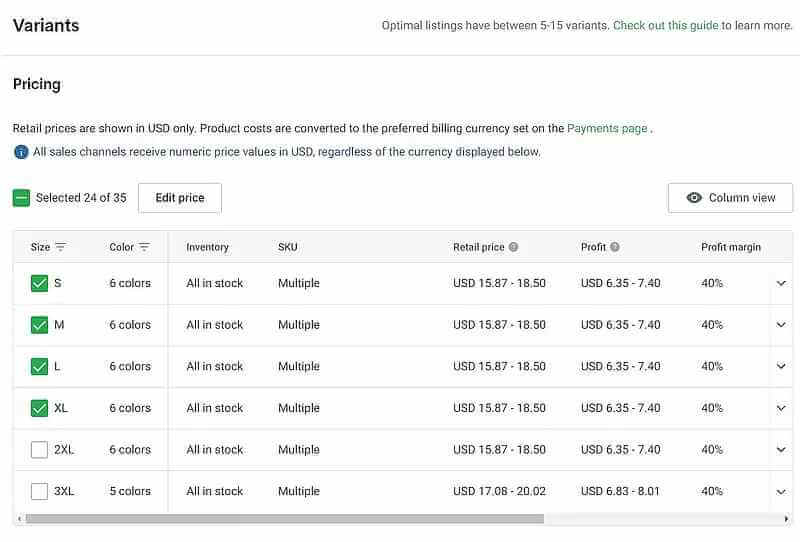
Now save all settings.
Printify Store Settings
On the left side of the Printify platform is the main menu with options that you can always revisit to make adjustments.
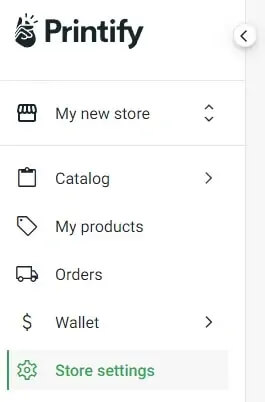
Under Store settings, you’ll first name your store.
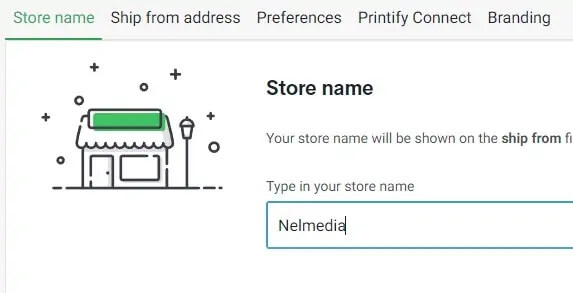
Under Branding, along with the shirt image, you can define a small leaflet for future customers.
Here, you can thank them for their purchase and invite them to check out similar products.

The leaflet will be printed for products with standard delivery times.
However, it won’t be provided for Express delivery due to the short delivery time.
Printify Wallet
Under Wallet > Payment details, you need to enter your card or PayPal account and define the payment currency.
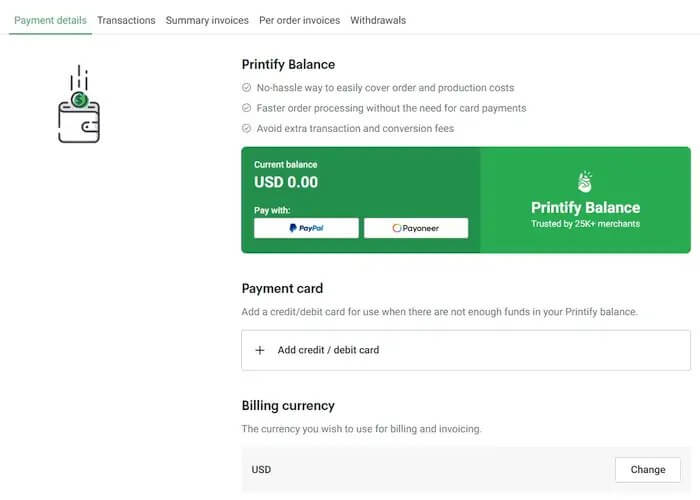
You can also allocate specific funds to have them on your account in case of an order.
Order Creation
When a customer buys a product from your store, you go to Orders > Create order to request the product’s creation.
You must select the specific size and color of the item, define the shipping method, and submit the request.
It is desirable that you already have an amount in your account that covers the production costs.
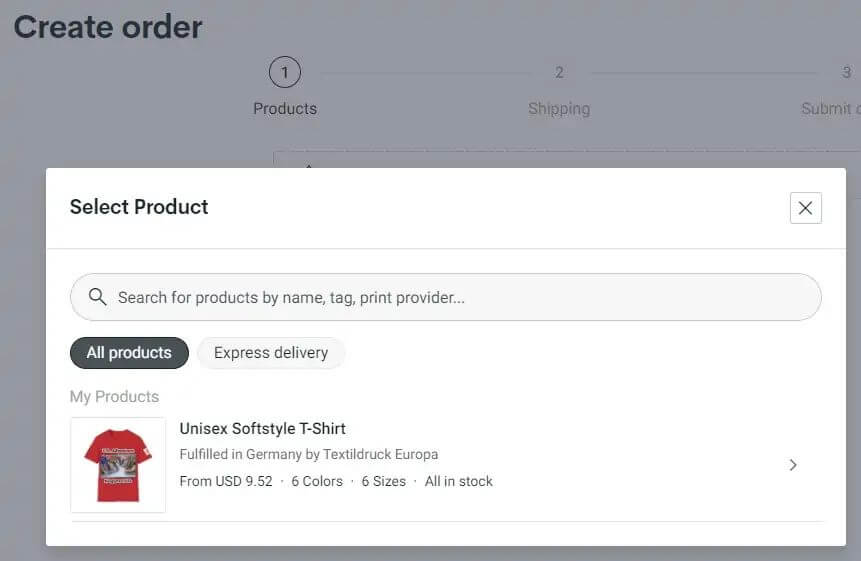
In the case of Express delivery, the price will be slightly higher.
Printify Premium
If you receive many orders, the Premium option will be profitable for you.
Here, you pay $29 monthly, but as a result, your production costs decrease by up to 20%.

Connecting Printify and online stores
Items with descriptions and images can be transferred to various types of online stores.
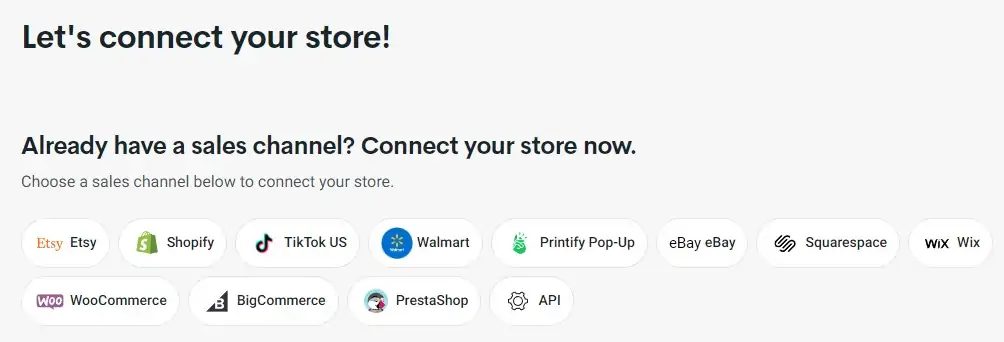
This includes Etsy, Shopify, TikTok (applies to the US), eBay, Squarespace, Wix, WooCommerce for WordPress, BigCommerce, and PrestaShop.
Of course, you can sell on any other online store, but then you’ll need to manually transfer product descriptions and images.
Over time, Printify has started offering the creation of online stores within its platform to facilitate the process for its users.
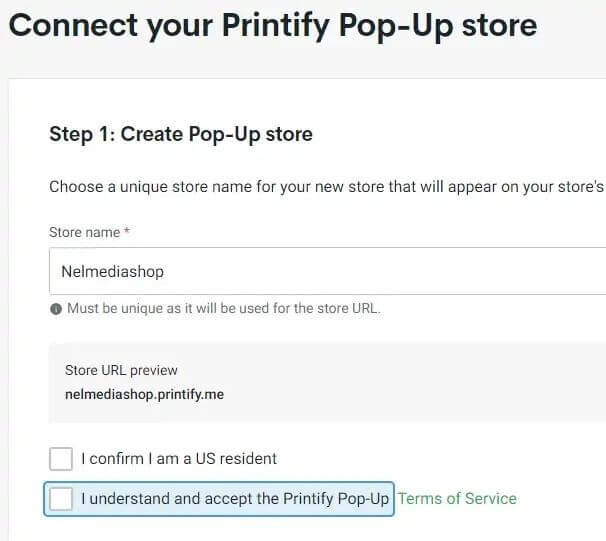
However, currently, only US citizens can use this option.
Frequently Asked Questions
Conclusion
Printify is revolutionizing how entrepreneurs approach e-commerce, providing a user-friendly platform for creating and selling customized products.
Thanks to seamless integration, an extensive product catalog, and a commitment to quality, Printify enables businesses to tap into the profitable world of print-on-demand.
Entrepreneurs can focus on what they do best-designing and marketing-while leaving printing and order fulfillment in expert hands.
Suggested reading
💠 PayHip: selling digital products online
💠 How to open an Etsy online store?
💠 How to open a Redbubble store?

Get the latest news!
Take a second, join our community, and discover the latest strategies and proven methods for earning extra income on the Internet.
