

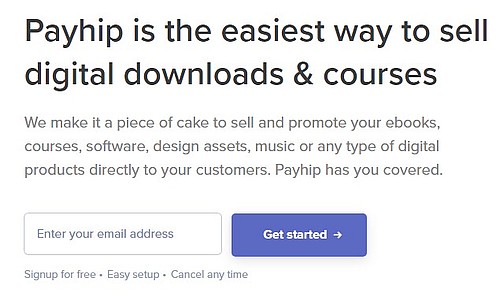
If you’re looking for an affordable and user-friendly way to sell products online, Payhip is a great option.
This e-commerce platform allows you to sell digital and physical products, as well as memberships, without any upfront costs. In this post, I’ll show you how to create a free online shop on Payhip in just a few simple steps.
From uploading your products to customizing your shop’s design and accepting payments, we’ll walk you through everything you need to know to get started.
So, let’s dive in and learn how to make the most of Payhip for your online business!
What is Payhip?
Payhip is a platform where you can create an online store for free.
But this service will allow you to sell online, not only digital products but also physical products, recorded courses, ready-made programs (if you are into programming), and much more.
Registration
Registration begins with entering an email address.
Via the link you receive in the email, you will return to Payhip.
Password entry
On the next panel, you will have to re-enter your email address and select a password.
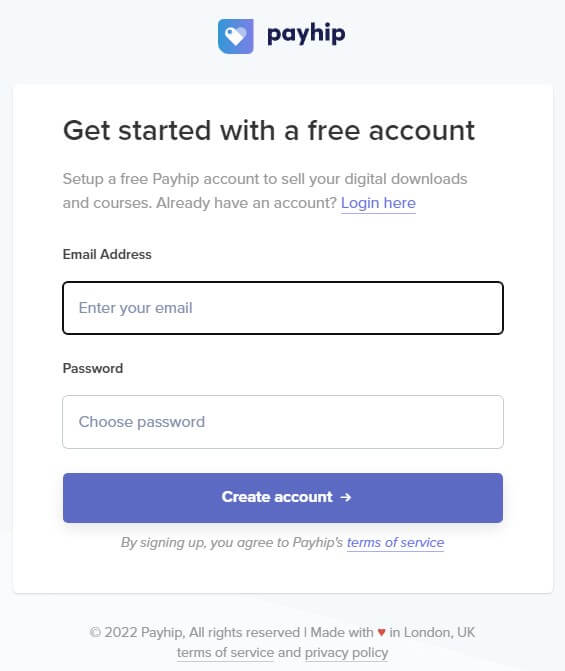
By clicking on Create Account, you start creating your account.
Enter name or company
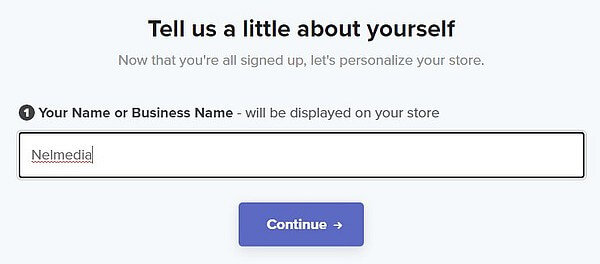
On the next panel, you will have to enter your name or the name of your company.
This name will be displayed in the name of your store.
Link to your store
Just by entering your name, you will be presented with a link (URL) to your future store.

Working surface
This workspace, as shown in the picture, will be visible until you fill in all the information necessary for the store to operate.
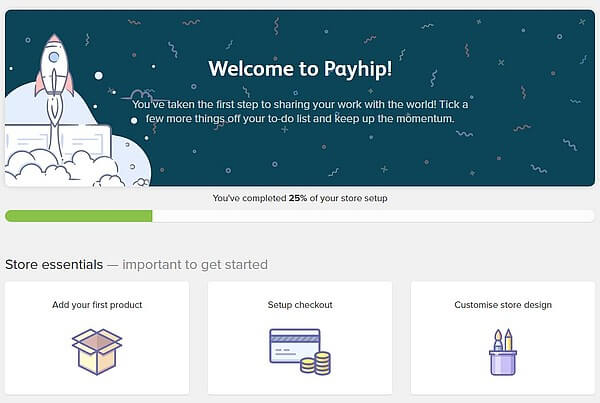
Below the welcome that this service wishes you, you will see a green bar.
As you complete which segment, the bar will show in percentage how much work you have done.
When it reaches 100%, it means that the store setup is complete.
Let’s start from the beginning.
sell digital products online
It is the first item to enter, and after you activate it, a panel will appear to select the type of product you intend to sell.

The digital product will include E-books, programs you have programmed yourself in one of the programming languages, and similar items.
Physical products will include ready-made products that you produce yourself.
There are also courses (written or recorded), teaching services, and subscriptions to your store.
Defining the first product
Among the options, we chose a digital product because we intend to sell an E-book.
Under the option Files>Upload product file, you will mark the PDF in which your E-book is located.
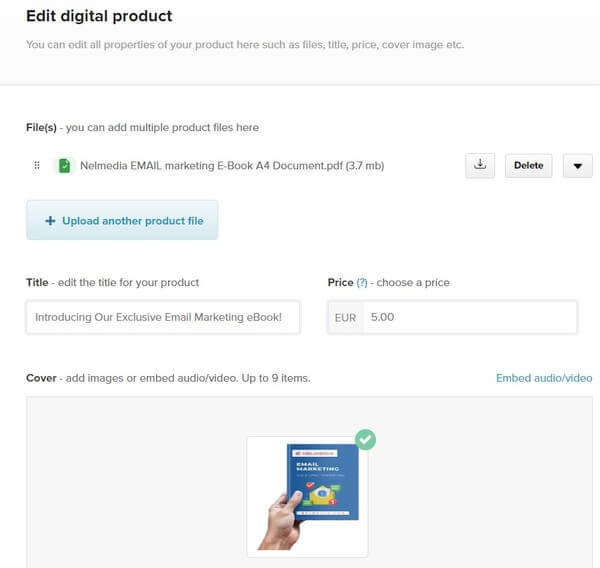
Under Title, you define a title that will attract customers.
Under Price, you will specify the currency and price for your product.
If you activate the Sale price, you must enter a new price that will be valid for the sale, as well as the time until which the sale will last.
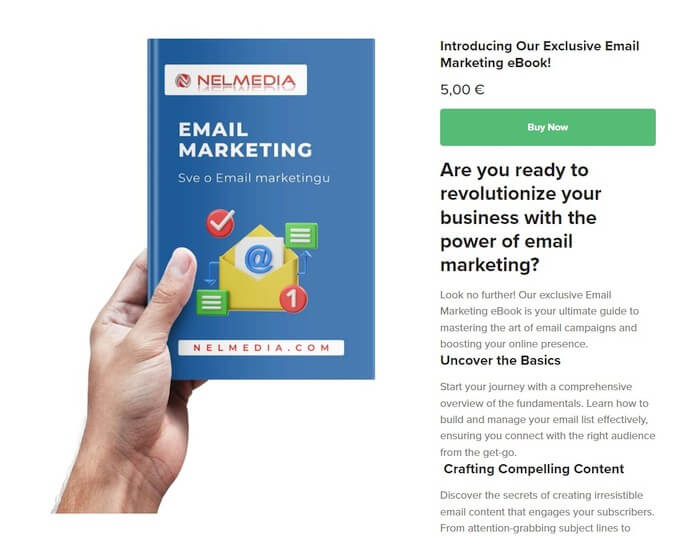
Under Cover, you will enter an image that will present the appearance of the product to a potential customer.
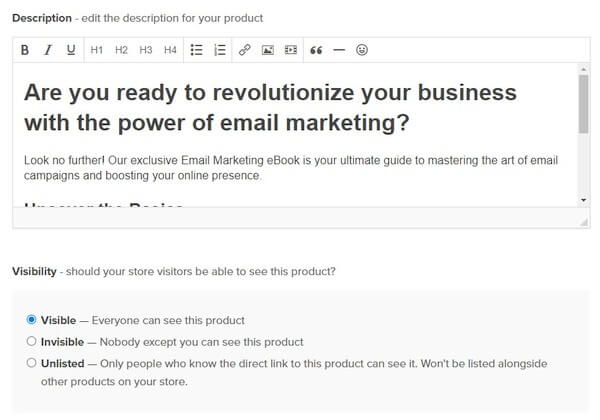
Item Description
Under this option, we provide a short description of the item.
We have a small text editor at our disposal.
When you write the title, select it and mark it with the mark “H3”. Subheading (if you have one), mark it with “H4”.
In plain text, you will write what is in the book, what the buyer will get with it, and the like.
Why do we mark titles with H3 and H4?
That’s because when creating any web page, titles are marked by categories to reveal to search engines which title is the most important.
The title with the H1 tag will be the most important and the H6 tag will be the least important.
Product Visibility
Under the Visibility option, you can choose whether the product will be visible in the store or not.
The Unlisted option means that only the people to whom you sent the link can see the product.
With this, you have created the first product and you will be able to review it, but that’s not all.
Payhip Payment details
Under the Payment details, you will specify the account to which you will be paid after the product is sold.
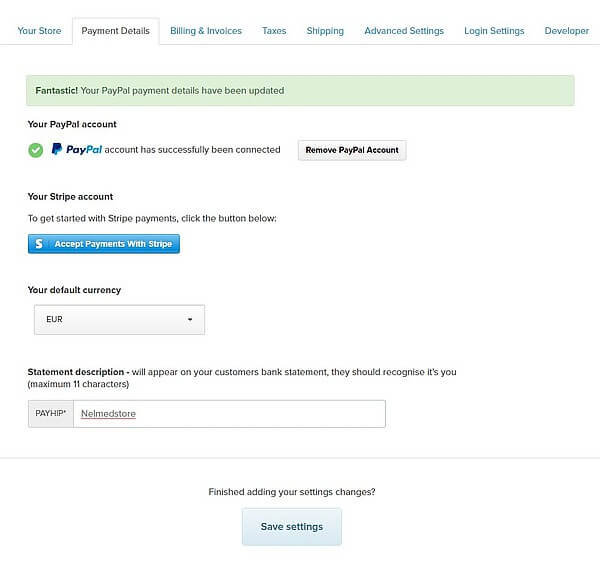
Here you have two options: PayPal and Stripe.
By selecting the option, the service will automatically connect to your chosen payment service.
In addition to the method of payment, you will also need to define the currency of the payment.
Under the Statement description, enter the name (maximum 12 letters) that will be visible on every payment.
Your store
By clicking on Your Store, you will see 3 options.
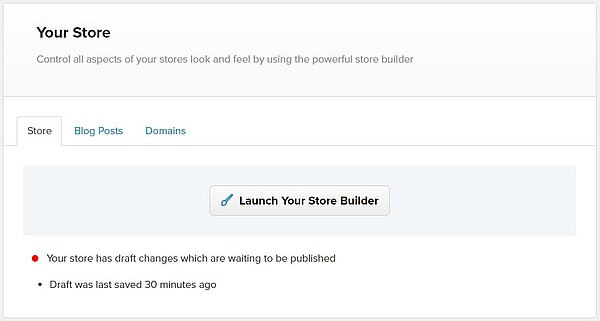
Domains
Under Domains, you can add your purchased domain to your store to make your store more professional.
Blog Posts
Blog Posts is an option that will open a text editor where you can enter text, add titles and images, and thus create a small blog.
Store
Under this option, you need to run Launch Your Store Builder.
This will activate the program with which you will edit the appearance of your store.
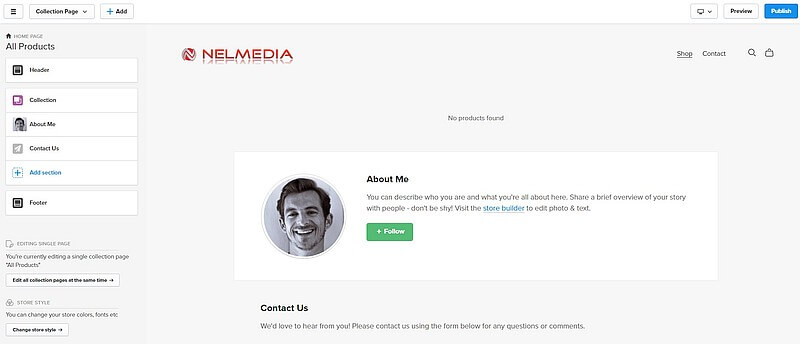
This simple editing program consists of blocks just like a real website.
The block that has already been inserted is “About us”.
Edit the text here to describe something about yourself or your company.
In the beginning, you can insert your logo and later add elements as desired.
By pressing Publish, your changes will be published.
Entering the contact form on the Payhip store
As you may have noticed on the second page of your store, there is already a contact form.
If the created store has several pages, we can add a form for signing up for news on each page with products.
Let’s go to Account>Store Builder, where we previously edited the appearance of the store.
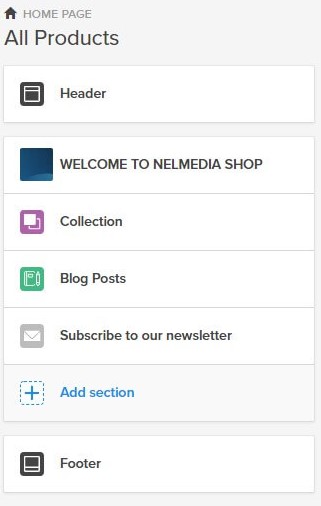
Click on the +Add section.
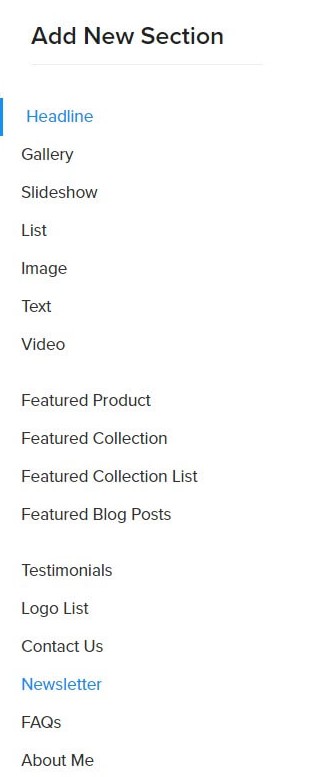
As we described before, there you have all the additional blocks that you can add to your store – images, galleries, slideshows, lists, videos, etc.
Select Newsletter.

When you save the settings, your store will have a form for signing up for news.
Account settings
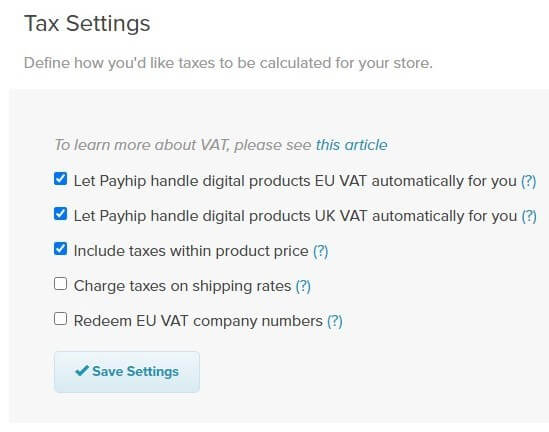
Tax Settings
Under the Account settings > Tax Settings option, we have selected the options for Payhip to automatically process the tax and include it in the product price.
Billing & Invoices
Payhip has three price categories.
The first, free one, we are currently on will charge you 5% for each product sold.
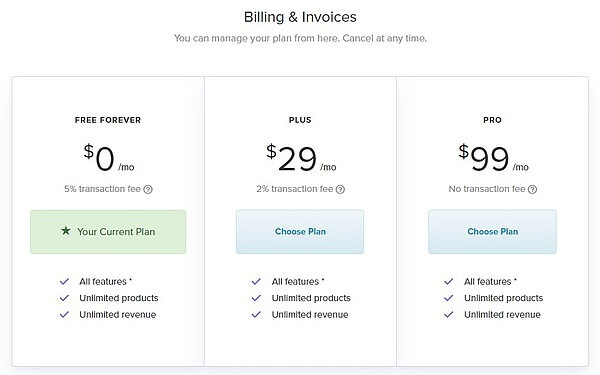
If sales increase, a better option will be the PLUS plan of $29/month where 2% of the price of the sold product is taken from you.
The third option is PRO where you pay $99/month but there are no additional fees.
Additional options
Analytics
Payhip has very well-created analytics.
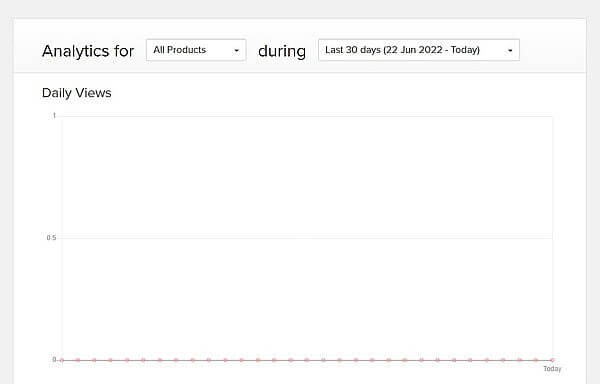
You can see how many views there were in a certain period, which countries they were from, and how many sales were made.
So you have everything you need.
Marketing
Under the Marketing option, you have very good tools for presenting your products as well as advertising.
Coupons
Coupons are a great way to increase sales and attract customers.
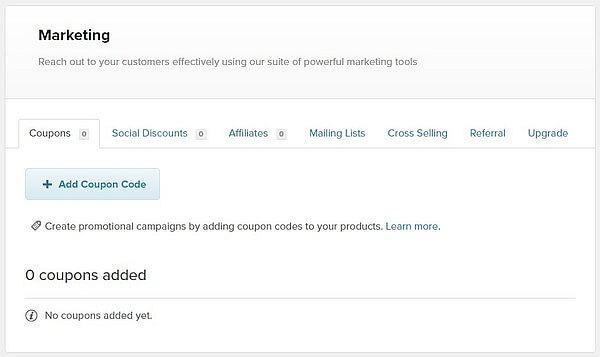
By clicking on +Add Coupon Code, we determine the parameters of the coupon.

There we can determine which products the coupon applies to, the discount that the owner of the coupon will have, the coupon code, the maximum number of coupons, and to what date it is valid.
You will use the coupons when you advertise your product.
You will distribute them to a certain group of users.
Everyone who comes to your store with the specified product will also have the “Enter coupon code” option.
When the user enters the coupon, it will give them, for example, a 10% discount, depending on the amount you specified when creating the coupon.
Add new social discount
Under this option, you can determine which products will be discounted and how much that discount is in percentages.

At the end of each such item, there will be a discount mark.
Add Your Affiliates
Affiliates are people who participate in the sale of your product and receive a commission for each sale.
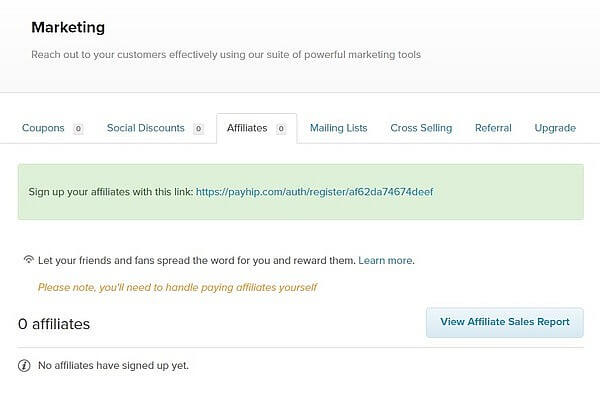
Payhip automatically generates a link under this option.
You can offer it on social networks among friends or among people who have registered at your store to receive news.
Interested users can register via this link.
Each associate will receive his link after registration.
It is up to them to determine how they will advertise you.
Every sale made through the link of your associates will be automatically recorded on the service.
It is up to you to determine what percentage you will offer them for the sale made.
Setup mailing lists
With this option, you choose which external service you will use to create a list, i.e. an email list of users who have signed up for news.

You will choose one of the services that deal with email marketing such as AWeber , Campaign Monitor, Kit, GetResponse, Mailchimp, etc.
Add Referal
This is another way you can increase your sales.
If we specify a product and a percentage for Referrals, the message “Bring a friend and get a discount” will be displayed next to such a product.
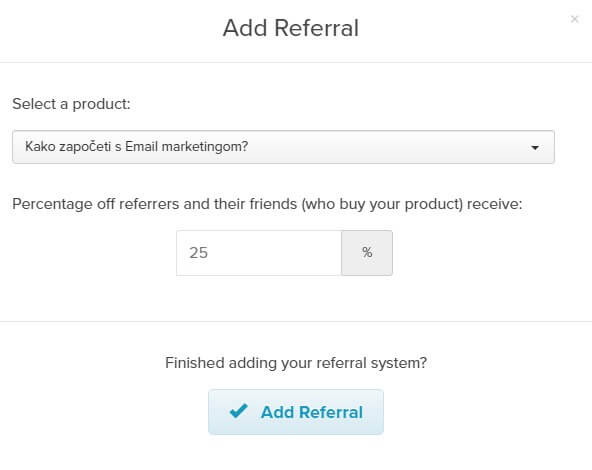
The person who referred a friend and the one who received the link will both receive the set discount.
Add Upgrade
Under this option, you can offer another promotion for better sales.
If you want to use the option, determine which product it will apply to.
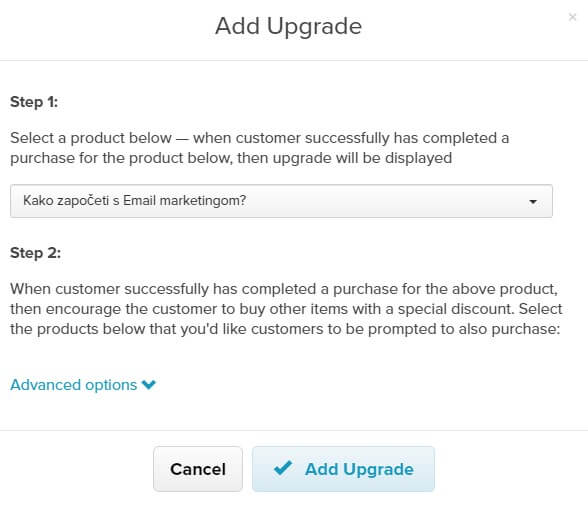
When the customer makes a purchase, he will be offered another product at a reduced price.
Customers
Under this category, you will have statistics on how many customers, subscribers, sales, and followers you have.
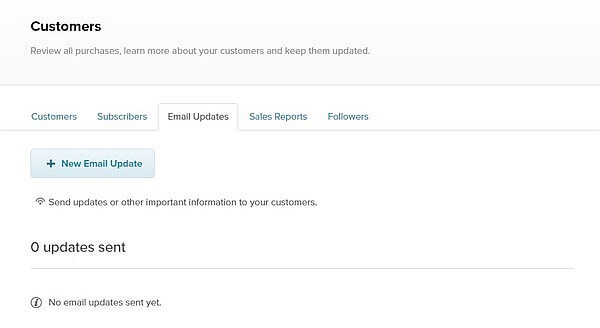
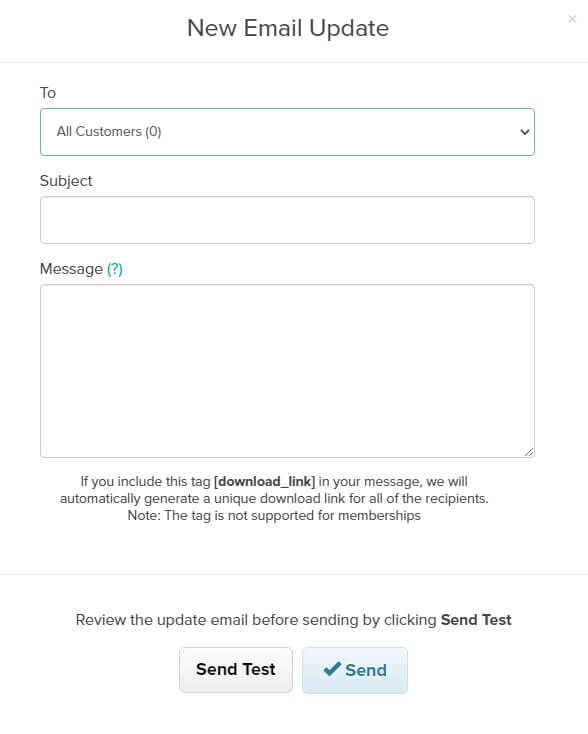
Email Updates
This option gives you the possibility to send an email to all your customers and subscribers with a description of your new products.
Conclusion
After careful analysis, I can confidently say that this platform is exceptional.
With its ability to add new pages, manage products, promote your store, analyze performance, and process payments automatically at an extremely favorable price, it makes it a complete solution for creating an online store.
🠞Create your Payhip profile and build your web shop today.

Get the latest news!
Useful tips directly to your inbox – once a week, free of charge.
Recommended reading
🛒 How to Start a Shopify Store in 2026: Step-by-Step Guide for Beginners
🛒 Selling digital products: 10 best ideas for passive income
Please allow me to join this app
Please Alhassan Yaya click on the Payhip link marked in blue and it will take you to the application. Of course, you will have to register.
Thank you for your comment.