

Introduction to Mailchimp Email Processing Service
In this blog post, I will guide you through everything you need to know about starting with Mailchimp.
What Is Mailchimp?
Mailchimp is one of the world’s best tools for automating email marketing.
It’s designed for small businesses, bloggers, and non-profit organizations looking to grow their audience and drive sales through regular communication with their subscribers.
It enables you to create and send regular emails and manage your email list.
It also comes with a range of features that make it easy to track your results, test your emails, and improve your performance.
Mailchimp also integrates with various other online tools, making it easier to add new subscribers to your email lists.
Mailchimp registration
Registration starts with the classic entry of email address, username, and password.
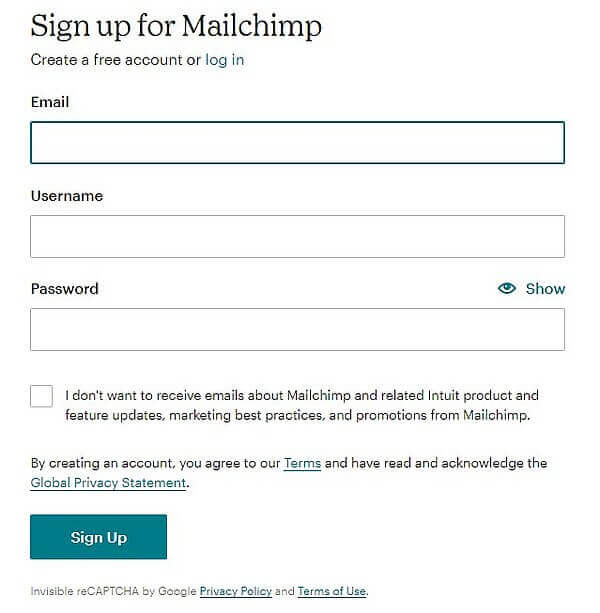
You’ll receive a message at the provided email address to activate your account.

This will take you back to Mailchimp where you’ll input some additional data.
Choosing a plan
I’ve opted for the free option.
This free option allows you to have 500 active contacts and send 2500 email messages monthly.
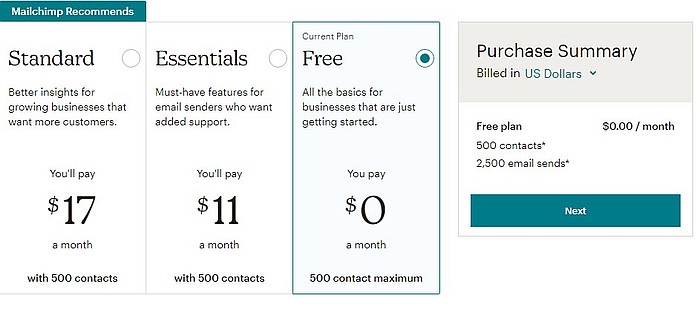
Of course, you can always upgrade the plan if needed.
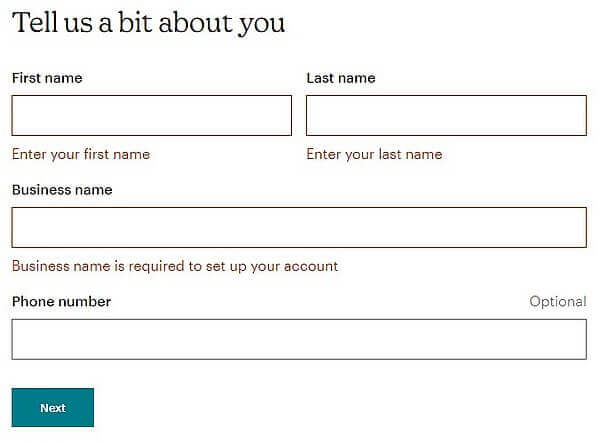
Personal Information
After selecting a plan, you need to input your name, company, and phone number (not mandatory but recommended).
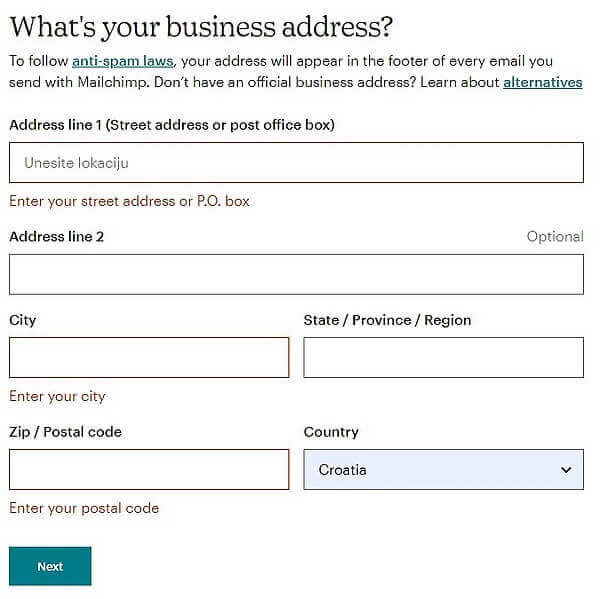
Then you will add street, city, province or region, postal code, and country.
That should cover the registration, but the service may pose additional questions that aren’t obligatory to answer.
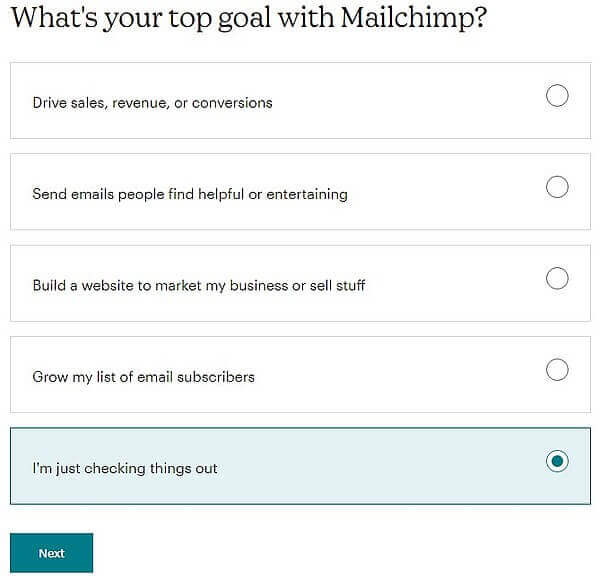
Firstly, what do you aim to achieve using Mailchimp?
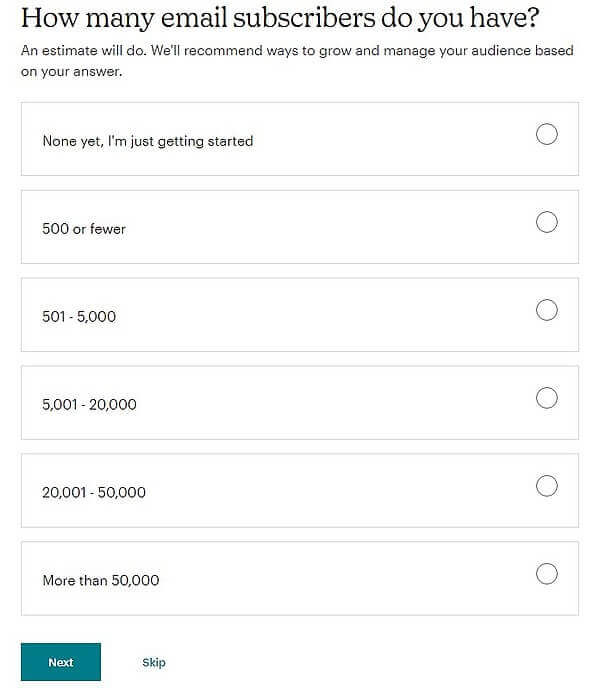
Then, how many newsletter subscribers do you currently have?
Of course, since you’re just starting, you won’t have any yet.
How do you intend to sell to your customers?
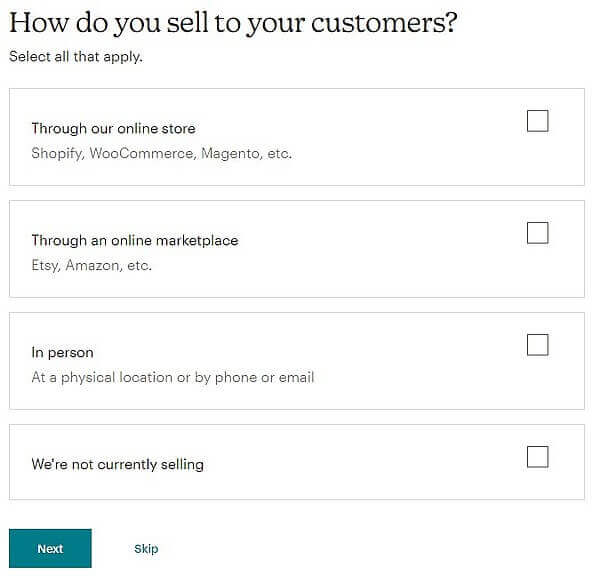
Here, you have four options: through your online store, another service like Etsy or Amazon, in-person, or no intention to sell.
While it’s good to complete this brief survey, if you prefer not to answer, simply hit the Skip button.
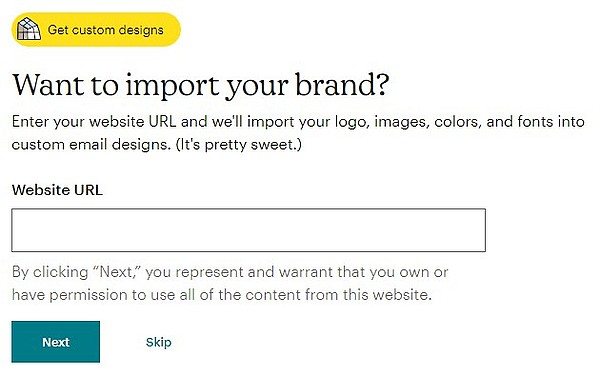
Connecting to your company website
On this panel, you can input your website or company address, and Mailchimp will automatically fetch your logo, colors, and fonts used to maintain consistency.
You can also choose to receive updates on new features from Mailchimp.
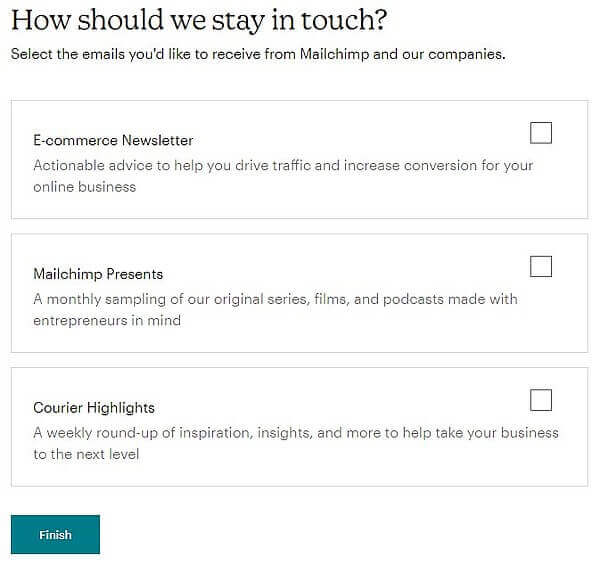
Congratulations, your registration on Mailchimp has been completed.
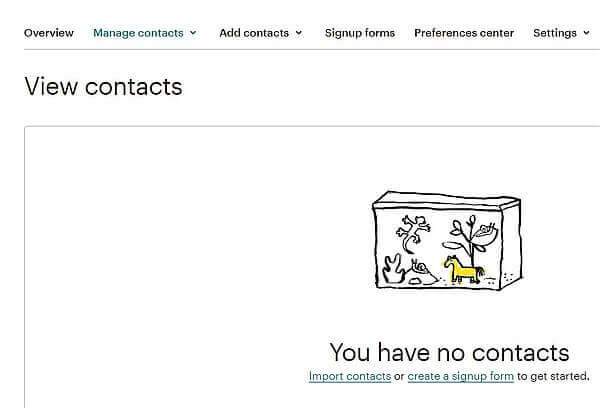
Importing contacts
Upon the first screen after registration, you’ll notice that you don’t have any contacts yet.
If you have an existing contact list, you need to select ‘Add contacts.’
Through the ‘Import contacts’ option, you’ll input your contacts.

You can input data in multiple ways.
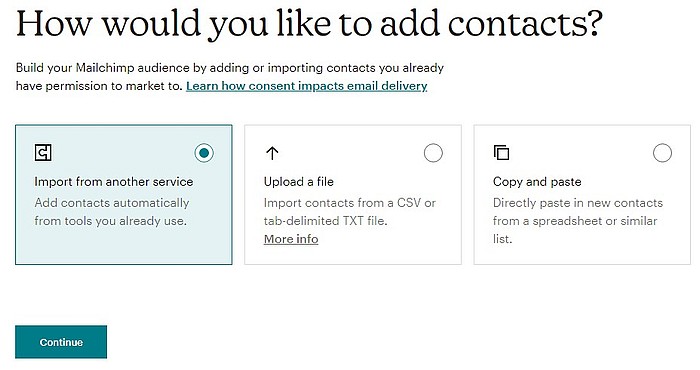
Import from another service
I’ll explain this option when we connect Mailchimp to another service.
Upload a file
Here, you choose a CSV file typically used to store email contacts.
For instance, you can save all existing contacts from a Gmail account into a CSV and then upload them here.
You can also use a plain text file, but email addresses must be separated by commas for the input to be correct.
Copy and paste
This is the lengthiest option, where each contact is entered using copy/paste.
Regardless of the input method chosen, some contacts should now be visible.
Example of using embedded code for collecting email addresses
As Mailchimp is an extensive service with many options we’ll explain in subsequent parts, now we’ll demonstrate how to connect it to two projects already described here:
How to make a website on Google Sites?
Create your online web shop on Payhip.
Form Creation
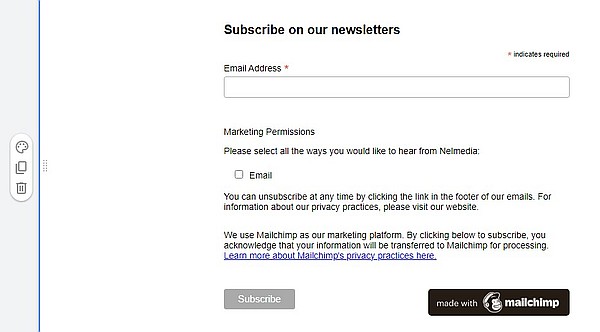
To share the code, we must first create a form.
It will be a simple signup form.
Let’s go to ´Audience > Sign up forms > Embedded forms´.

A new screen will display a pre-made contact signup form.
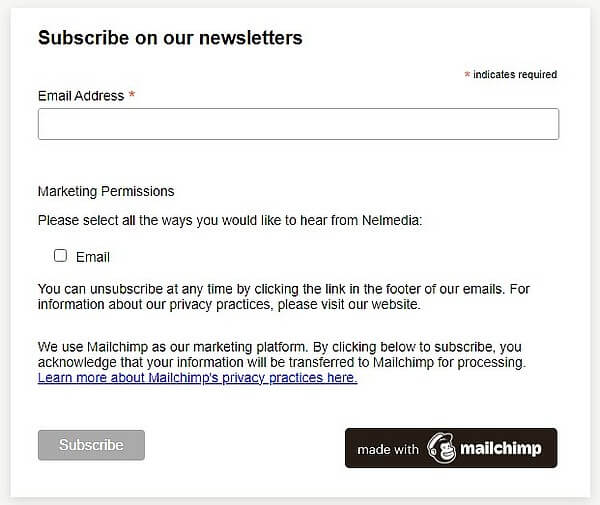
Additional fields
Apart from the email address, you can select additional fields to gather information like name, surname, address, phone number, or birthday.
Just enable them on the left panel.
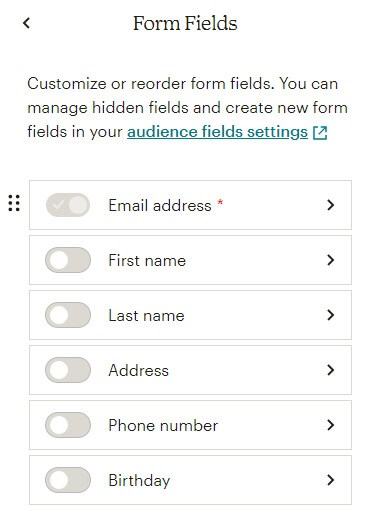
Each field can contain modified text in another language and helper text for user understanding.
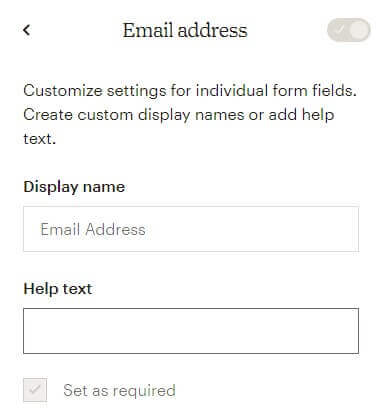
If you wish, in the options, you can select whether data entry in a field is mandatory, and enabling this option will display a red asterisk (set as required) next to that field.
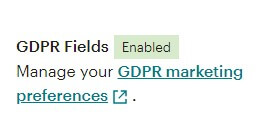
At the bottom, below the entry field, there’s an option related to GDPR.
These are new rules allowing individuals to prohibit the use of their private data by a third party, in this case, Mailchimp.
To comply with the laws, it’s advisable to enable this option.
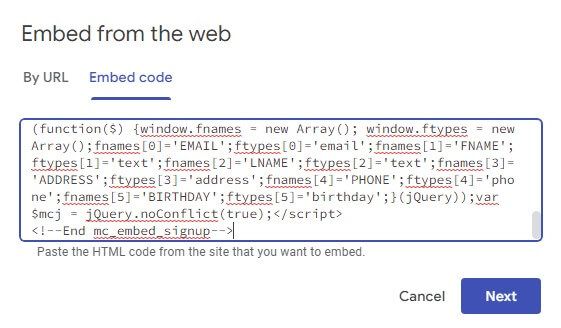
Form’s finished code
When satisfied with the form’s appearance, clicking ‘Continue’ will generate the code for your form.
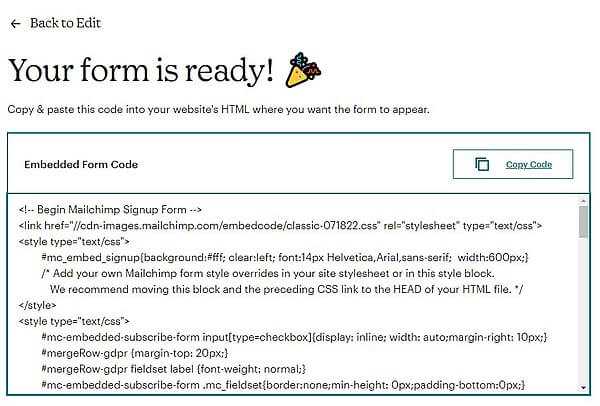
This code can be used on platforms that allow input of HTML code.
Transferring code to Google Sites
Open the webpage on Google Sites and select Insert > Embed.
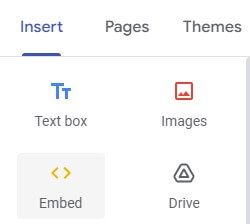
Click on ‘Embed code’ and paste Mailchimp’s code.
The same form will appear as the one we created.
Of course, you’d use this option if the forms described there don’t suit your needs, or if you simply want to collect email addresses this way.
Connecting Mailchimp to another service using API key
Here, we will explain how to link Mailchimp to another service, using Payhip as an example. This service was described in the blog where we created a store for selling.
We’ll connect services through an API key specifically meant for this purpose.
On Mailchimp, go to the main page, left to our logo (if you haven’t entered your logo, it’ll show just the initial letter of your name).

Open Profile > Extras > API key.
Here, you’ll see no active key yet.
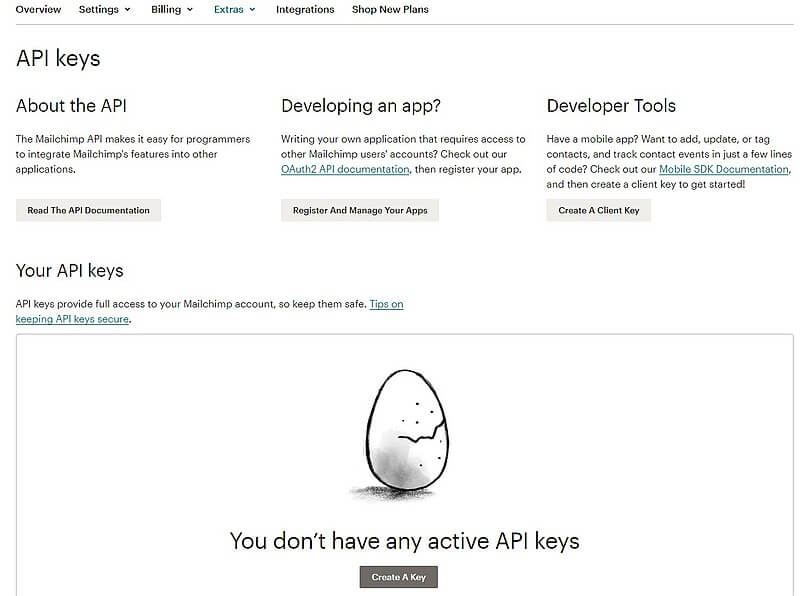
So, using the ‘Create a key’ button, generate one.
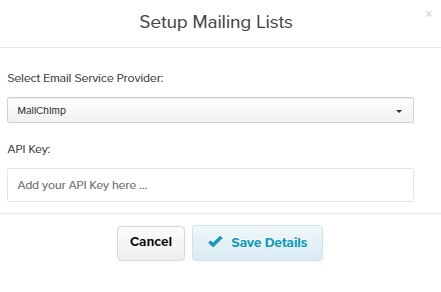
Finally, the generated key will be a string of multiple characters.

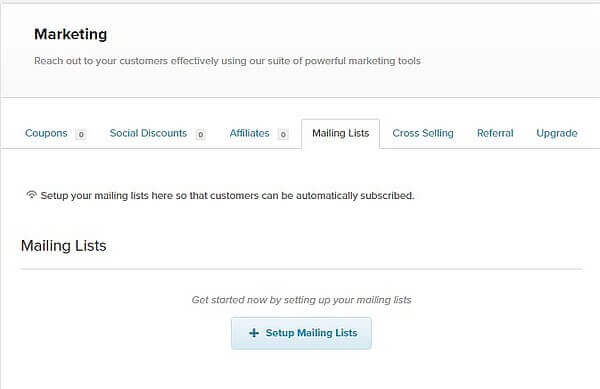
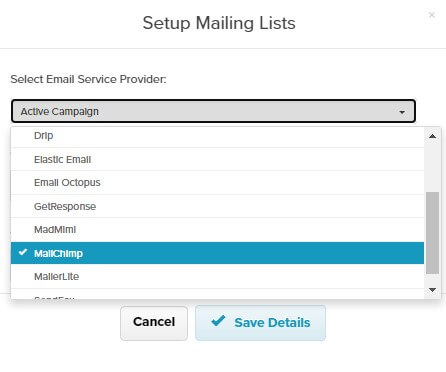
Now, log into Payhip, and under options, select Mailing Lists> Setup Mailing Lists.
Among the options, choose MailChimp.
To complete the connection of the two services, you need to enter the key you generated.
This way, you can link multiple stores and services to gather email addresses in one place, but a new API key must be generated for each.
Conclusion
This post was a bit lengthy, and connecting various services is somewhat technically complex because we wanted to immediately demonstrate practical usage by utilizing the applications described here.
We’ll describe creating forms, campaigns, email templates, and even crafting landing pages for, for instance, affiliate marketing in the following parts.
MailChimp alternatives
Similar services providing email marketing: