

Are you looking to establish an online presence that is not only user-friendly but also optimized for search engines?
Look no further than Google Sites.
In today’s digital age, having a robust online platform is crucial for businesses, bloggers, and professionals.
But what exactly is Google’s website, and how can it benefit you?
In short, Google Sites is a free website builder tool offered by Google.
It allows you to create your website without any coding knowledge.
But these are just the basics. To explore the incredible possibilities that Google Sites offers, we need to delve into features, customization options, and real examples.
So, without further ado, let’s embark on the world of Google Sites and discover how it can transform your online presence.

Start with a free website builder
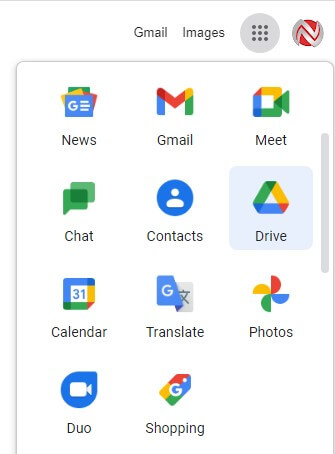
When you open Google Chrome, in the upper right corner, you’ll find an icon called Google Apps, and among the options, you’ll see Drive.
Select Google Drive.
Once on Google Drive, choose More > Google Sites.
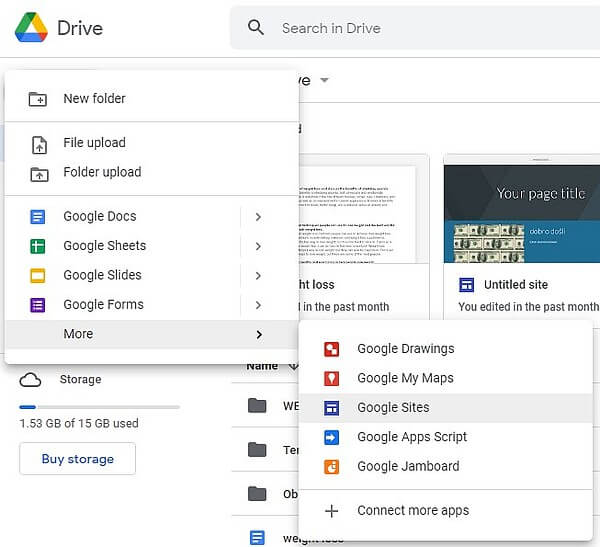
Here, you’ll have various templates to choose from, and we select “New.”
Of course, you can also use pre-made templates if you prefer.
We are working on the English version because other versions did not have pre-made templates.
Creating a Google Sites Web Page
The first thing we do is give a name to the web page.

In the upper left corner, you’ll enter a name, your name, or your company’s name.
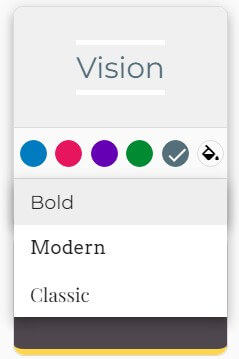
Theme Selection
From the right panel, where most settings are located, under the Themes option, choose one that appeals to you the most (you can change the theme later if you are not satisfied with the appearance).
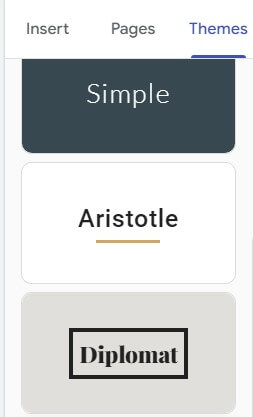
At the end of each theme, you can also choose a primary color and three different font types.
Setting the Header Image
The page’s header is the image and title at the very top.
There will already be an image here that you can change if it doesn’t suit your preferences.
You can do this by clicking on “Change image“.
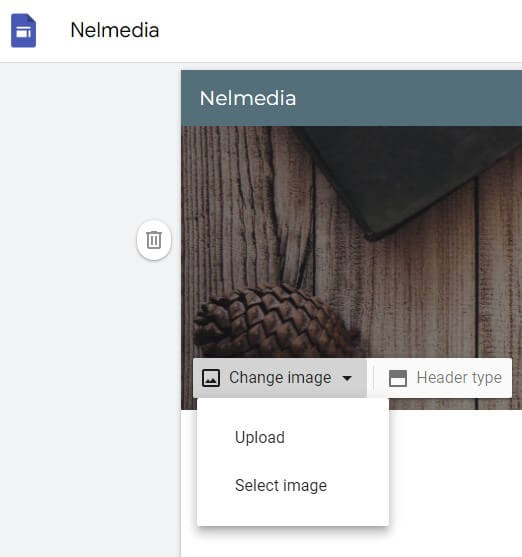
Using the “Upload” option, you can upload an image from your computer.
Using the “Select image” option provides more choices for selecting an image:
Gallery
This option opens existing samples from which you can choose.
Search
This will open a panel with Google images. You can search for images related to a specific term.
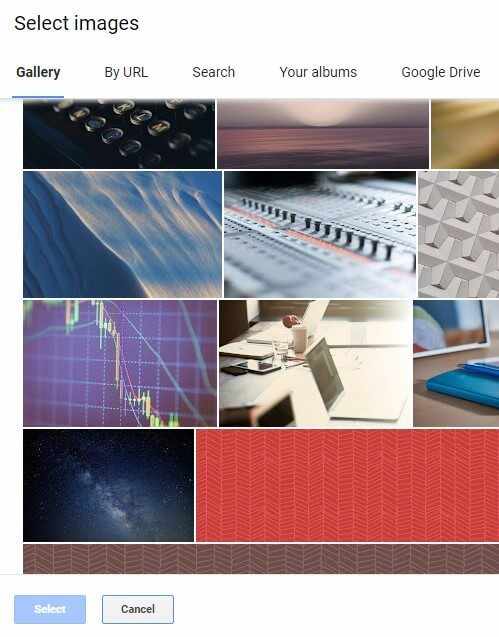
Although there are more options, we believe you won’t use them so often.
Changing the Main Title
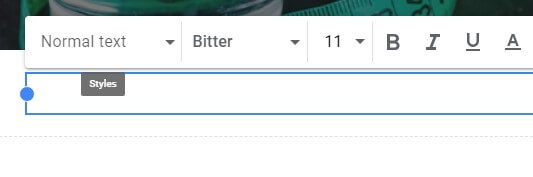
After selecting the main image, we need to change the main title.
As soon as you select the title, a small toolbar will appear above it.
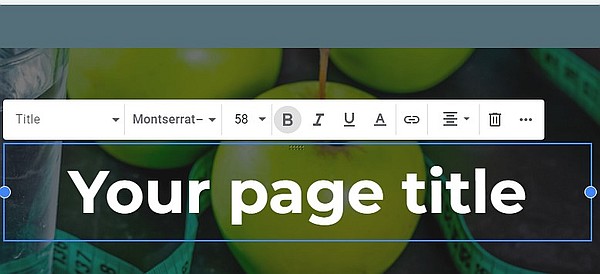
“Title” indicates that it is the main title.
Behind it, you can choose the font type, its size, whether you want the title to be bold, italicized, or underlined, the title’s color, a link (we will explain it later), the title’s alignment (left, center, and right), and deleting the title.
Adding Other Elements
When you select “Insert” on the right panel, the elements that you can add to the page will appear.
A “Text box” is, of course, a text input block, “Images” for images, and “Embed” is used to insert code from other websites.
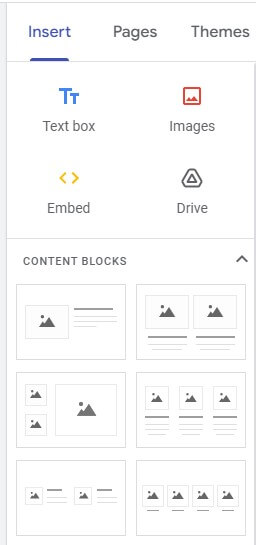
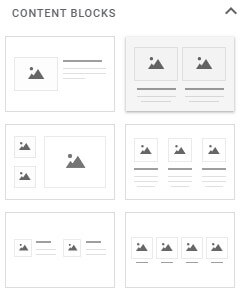
Under “Content blocks,” you can see prepared blocks that you can use as needed.
They all have space for an image, a title, and text.
Working with blocks
By clicking on any block, it will appear on the page.
We chose the “Text block”.
As you can see, you can determine and change almost everything, just like with the main title.
We entered some text and added a subheading to make it clearer.
We’ll use a double block to add another image and text.
What does the ready-made block consist of?
As you can see, even though the block is double, you can select either side.
By clicking on the “+” sign, you can add an image.
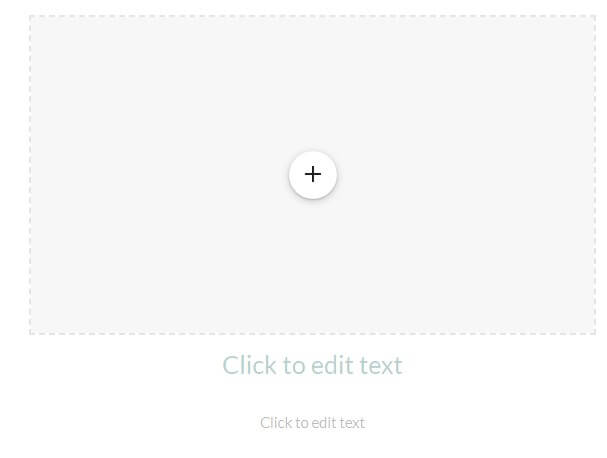
There is also space for a subheading and additional text.
As you enter text, the blocks will expand in depth.
Additional block options
Every block, when selected, will have additional options:
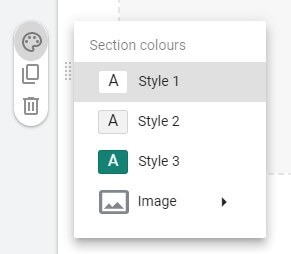
- Style 1: White background and black text
- Style 2: Light gray background and black text
- Style 3: Theme color background and white text
- Image: The background will be the image you choose
Adding a Button
To direct visitors to another website or create a link to your other page, we will use a button.
You can add it by clicking on the element named “Button”.
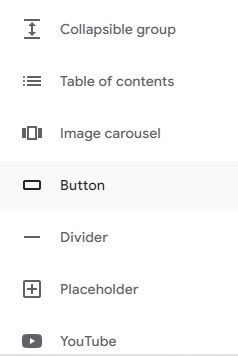
Here are some other elements you can use:
- Collapsible Group: Text that can be expanded.
- Table of contents: When applied, it will take all your headings and create a table of contents
- Image carousel: An element into which you can insert multiple images, and they will automatically rotate
- Divider: A line that serves as a space between two blocks
- Placeholder: It simply fills a space where you can add elements later
- YouTube: You enter the URL of a YouTube video, and it will automatically appear on the page
Now, let’s go back to our button and insert it on the page.
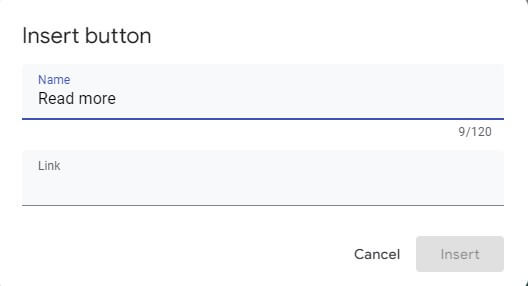
A bar will appear where you need to enter the button’s name, which will also define the action the user must take, for example, “Learn more”.
Under “Link”, you must enter the URL of the link.
You can expand or collapse buttons as elements, or even insert them into existing blocks.
Contact Form
What would a website be without a contact form?
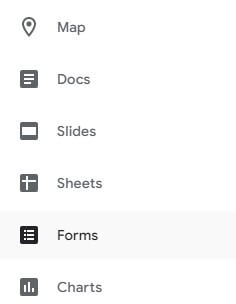
At the bottom of the element selection, you can find an element named “Forms”.
However, if this is the first page you are creating on Google Sites, it won’t be defined.
You need to exit Google Sites and select the “Forms” option.
I chose one of the suggested options, which had only an email address input.
I immediately changed its name to “Join our newsletter”.
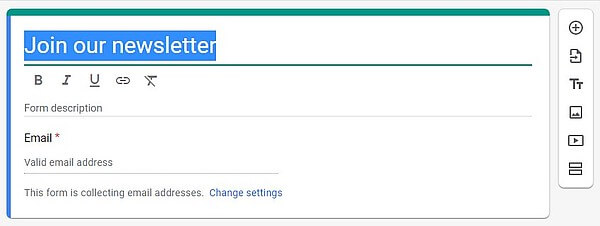
The program will save this name as our form’s name.
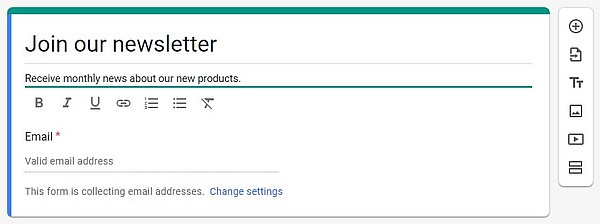
Under “Form description”, you can write an instruction to the user, “By signing up, you will receive monthly updates about our products”.
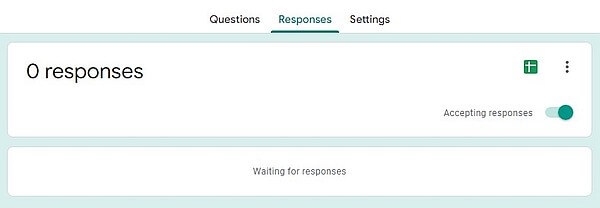
Where will we collect data when someone fills out the form?
Under “Responses”, you need to enable the “Accepting responses” option.
Now, press the small green icon, which is the indicator for Google Sheets.
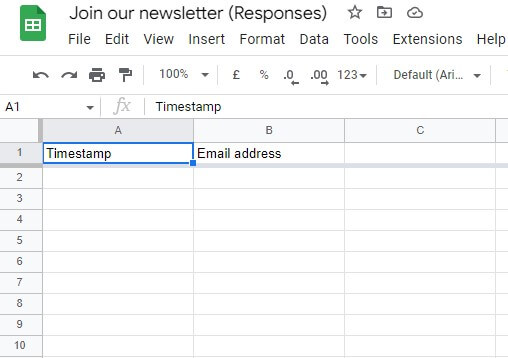
As you can see, in the spreadsheets, there is already a name that is the same as the form’s name.
In these spreadsheets, when someone fills out the form, the date of submission and the email address will be recorded.
Exit the documents and go back to our page.
Now, when adding the form, you will be offered the newly created (for now, the only) form.
Adding the Footer
Once you have placed all the desired elements on your page, it’s time to define the page’s footer.
You can do this at the very bottom of the page by selecting “Add footer”.

Here, you typically enter text that will be the same on all pages (if you have multiple pages).
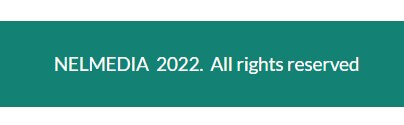
This can include your company name, the year, and a copyright message.
List of Pages
Under the “Pages” option, you can see how many pages you have and their names.
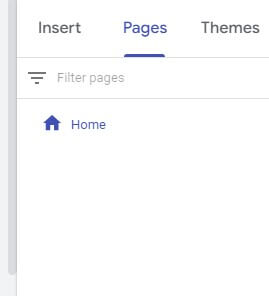
By selecting a page’s name, you’ll get options for adding a new page, copying an existing one, or deleting it.
Page Preview
By clicking on the “Preview” icon as shown in the image, a completely new window will open, allowing you to review what you’ve created.
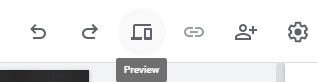
You can choose to preview it for desktop, tablet, or mobile.
Publishing
By pressing the “Publish” button, a window will open where you can specify a few more things before publishing.
First, you’ll see the complete name (URL) of your page.
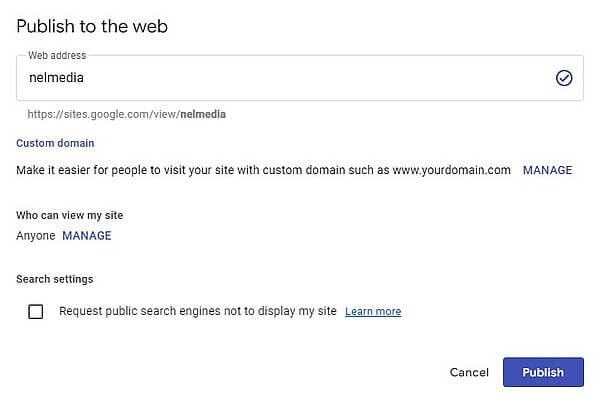
Under “Custom domain”, you can specify your domain if you have one.
Under the “Who can view my site” option, you can mark your website as public or private.
For “Search settings”, if you don’t check this option, search engines will be able to index your website and display it in search results.
Google website: Conclusion
Google Sites can be a quick option for creating a free Google business page or free portfolio website.
They are accessible to almost everyone and are suitable for schools because you can make the content available to specific individuals only.
You can also integrate analytics to track the progress of your website, a process we’ve described here.
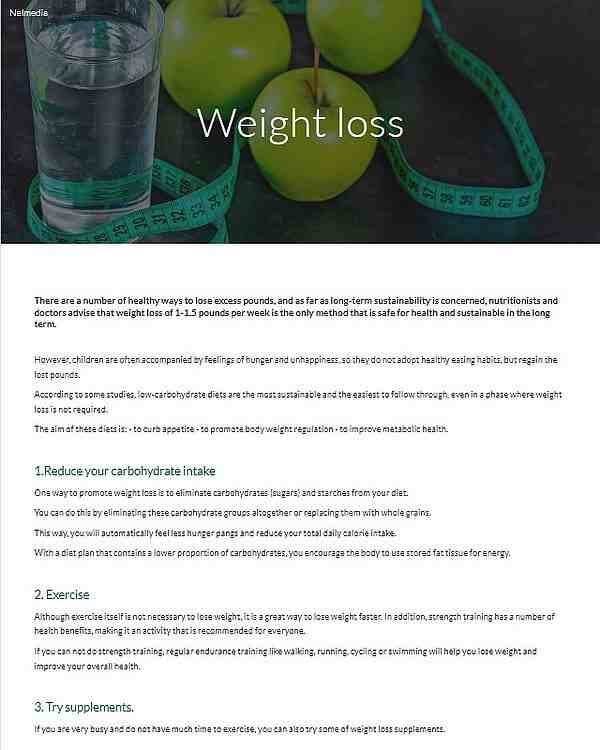
Here is a link to the finished website we created to demonstrate how it looks-https://sites.google.com/view/nelmedia/home
Sharing is caring! Show off all the amazing work you’ve accomplished by sharing links with everyone.
We can’t wait to see what you’ve been up to!
suggested reading
🔹 Rank Math: 10 Tips for Excellent SEO Results
🔹 Spectra Page Builder: Build Stunning Sites Fast
🔹 Kittl Design: Inspiration And Innovation In The World Of Graphics