

Welcome to the world of visual storytelling and creativity!
Today, we are describing the exciting world of video creation using Canva video editor.
Animations can breathe life into static designs, and with Canva’s simple interface and powerful tools, shaping interesting animations becomes a pleasure.
Starting with the Canva video editor
We start video creation by selecting a template.
Canva offers thousands of templates.
Enter the term “video” in the search bar, and it will display all sorts of templates for creating video materials.
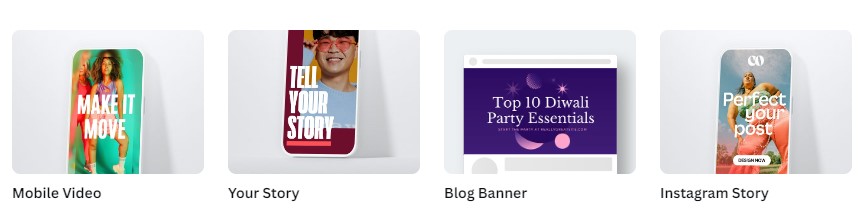
You can create videos for YouTube, YouTube shorts, Instagram Story, TikTok, Facebook Reels, and many others.
Template selection
Here, we chose the YouTube video option, and Canva automatically offered us templates for that purpose.
As you can see, the video ratio is 16:9, which is standard for YouTube video creations.
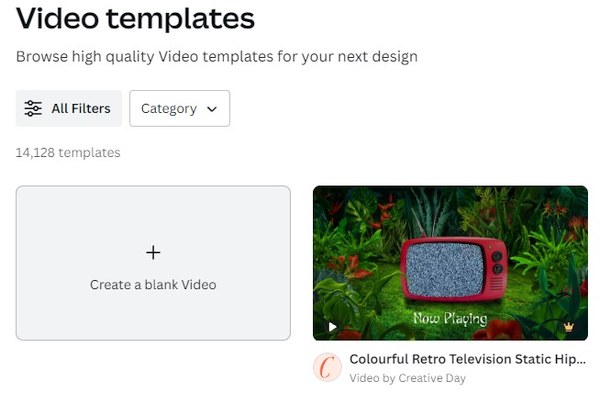
We selected the option to Create a blank video to explain the process from scratch.
Loading the video
By clicking on Elements > Videos, we access various video clips we can use.
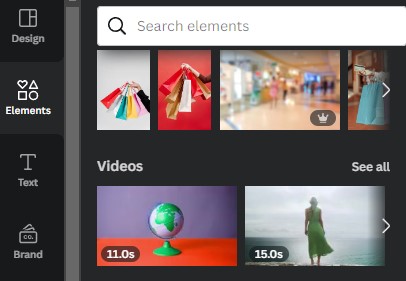
If we want a video on a specific theme, we enter the term in the search bar, and Canva lists all video materials related to that term.
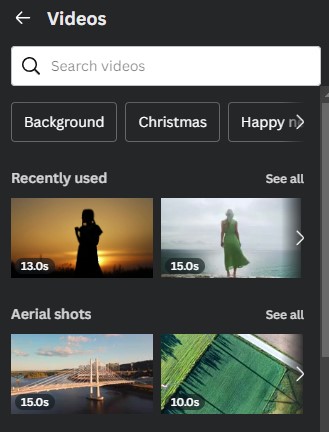
By clicking on the desired video, it appears on the workspace.
We can select and drag the video onto the workspace.
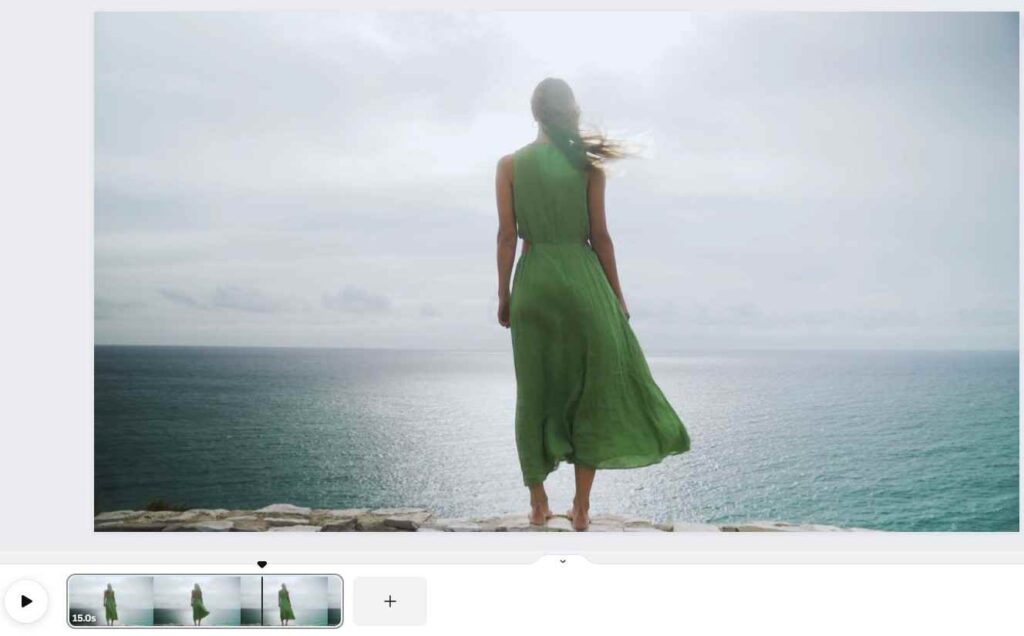
Canva Workspace
The workspace is simple and clear.
On the main screen, you’ll see in detail what you’re working on.
Below the main screen is a timeline with a playback button.
When you start the preview, the pointer will show which part of the animation is currently displayed.
If the video is long and you don’t want to wait to reach a certain point, click on the part of the timeline you want to play using the mouse.
Here, you’ll also see a new feature on our blog: image enlargement.
If an image has a “+” label, it means you can click on it to view it in full size.
Trimming the video
If the video is too long, we can trim it by dragging its edge to the desired length.
Another way to trim is by starting the preview and stopping it where you want to cut.
Right-clicking opens options.
By clicking on the Split page, it divides exactly where the playback is stopped.
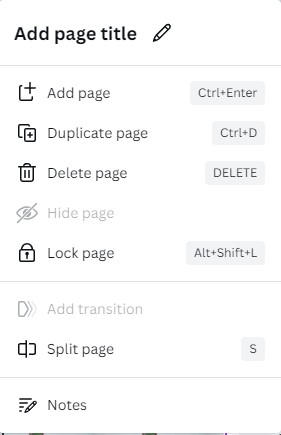
Here, we also have options to add video clips, duplicate, delete, and lock.
Don’t be confused by Canva labeling each video as a page.
Adding transition effects between two videos
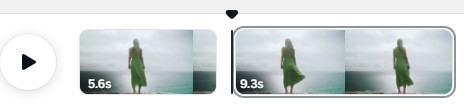
Now, using the previously described method, we can add another video to the workspace.

As you can see, each film indicates its duration in seconds.
To smooth the transition between the two videos, we can insert a transition effect.
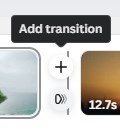
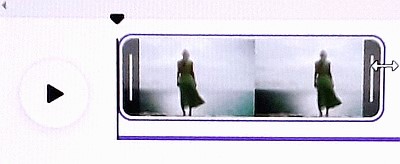
Placing the mouse arrow between two videos displays two options.
The “+” sign adds a new empty space for inserting a new video.
The Add transition option opens options on the left toolbar.
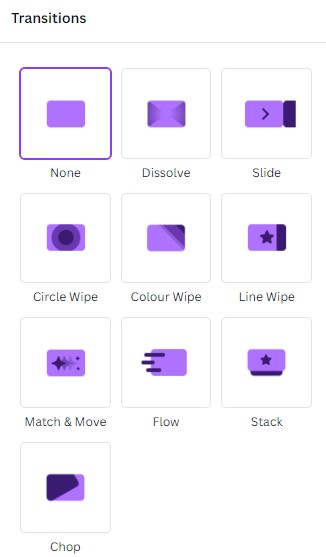
Placing the mouse arrow over a specific transition makes it visible on the main screen.
Choose the one that gives the best transition effect.
Adding Sound to Animation
If you want to add sound to the video, it can be easily done.
Under Elements, find the Audio option on the left toolbar.
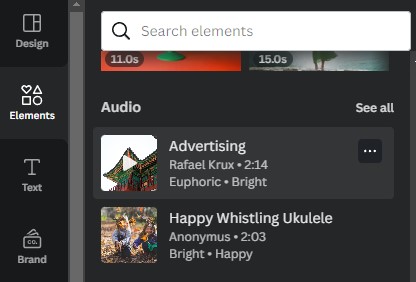
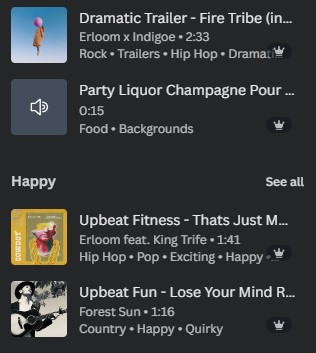
Here, you can preview all audio tracks or search for ones to your liking.
Music will last over two and a half minutes, while various sound effects will be much shorter (around 15 seconds).
By clicking on the audio track image, we can preview it before adding it.
When added to the workspace, a new track with the sound appears.
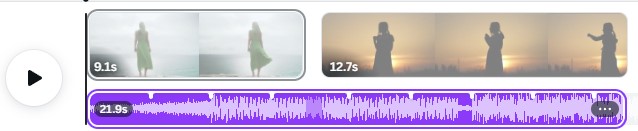
We can see that even if the sound is longer than the video, it will automatically adjust.
Editing the sound
Maximize your control and flexibility over your soundtrack by simply clicking on the three dots located right next to it.
This quick and easy step opens up a world of editing possibilities, allowing you to customize your soundtrack according to your preferences.
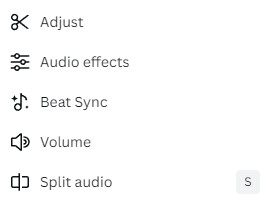
Adjust
Adjust will display the full length of the audio track so we can trim it if necessary.
Audio effects
Choosing this option opens a window with options to mute the sound at the beginning and end of the track.
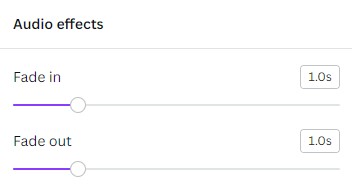
For example, if we want to increase the sound from silence to full volume at the beginning of the track, we adjust the slider under Fade in and set the time interval.
You can set it from one to five seconds.
An interval shorter than a second will hardly be audible.
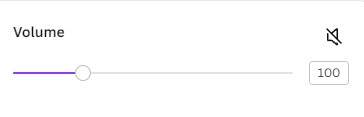
Volume
Using the Volume option, we can change the volume if the sound seems too loud.
Uploading Your Animations
You can use video clips you’ve previously recorded by selecting the Upload files option.
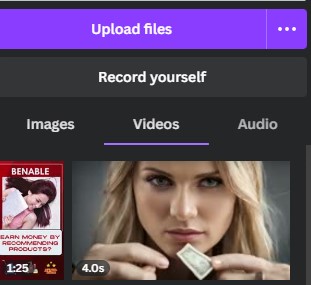
Here, you also have the Record Yourself option, allowing you to enable webcam recording.
If accessing Canva via a mobile device, this function will activate video and audio recording on the phone.
Saving the Finished Video Material
When you’ve finished creating the video, you must save it in a specific format.
In the top right corner, there’s a Share option > Download.
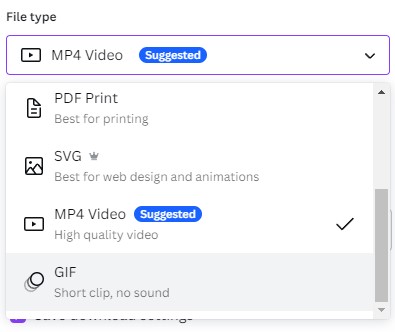
Here, you only need to specify the file type, which for most purposes will be MP4 Video.
You can also choose the animated GIF option.
Such animations can be used on social media for comments.
However, animated GIFs support only short video clips, have no sound, and the quality is much lower.
Direct sharing on social media
Besides saving, there’s an option to Share on social media.
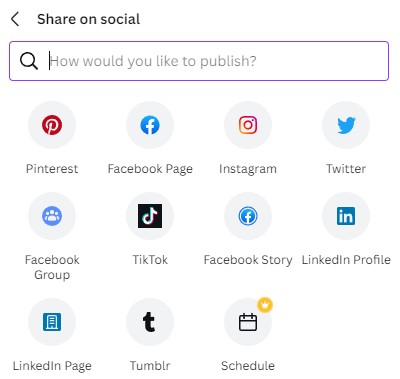
Whichever social network you choose, you’ll need to connect to Canva by entering your username and password for that platform.
Frequently Asked Questions
Conclusion
We think Canva is a good program for video creation.
Although it lacks some professional features, it will be a good choice for most users.
You can try out all the advanced video editing features in a trial period of one month.
The Pro version only costs the equivalent of four café coffees per month, so it’s not a significant expense.
This is a great article- crammed with lots of really useful tips and presented in such a clear and easy-to-follow way. Thank you!
Thank you for taking the time to write such a nice and positive comment.