

Every day we can watch movies that talk about how to write a low-content e-book and get rich from it.
But is it so?
To check these claims, I started to create my ebook.
To write it, a plan was needed, what we wanted and how to do it.
- Finding suitable software
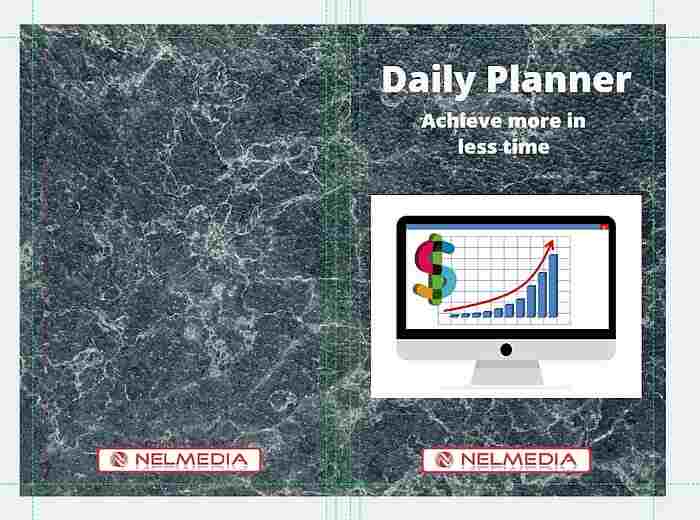
- Defining the type of e-book
- Creating a cover
- Creating content
- Publishing the e-book on Amazon (as well as in some other places)
- Possibly advertising the book
- Tracking results
Currently, the most used software (online service) is Book Bolt because it’s tailored to creating low-content e-books.
Although everything can be done in Canva, Book Bolt has additional tools that can be very helpful.
Registration on Book Bolt
Registration on Book Bolt is relatively simple.
As you can see, this platform offers you a free trial period of 3 days.
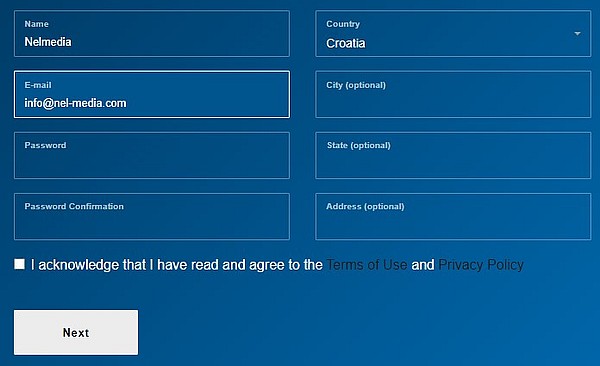
You start the registration by entering your name, email address, password that you must enter twice, country, city, and address (optional).
After confirming your email address, you will need to enter your card number and a coupon optionally.
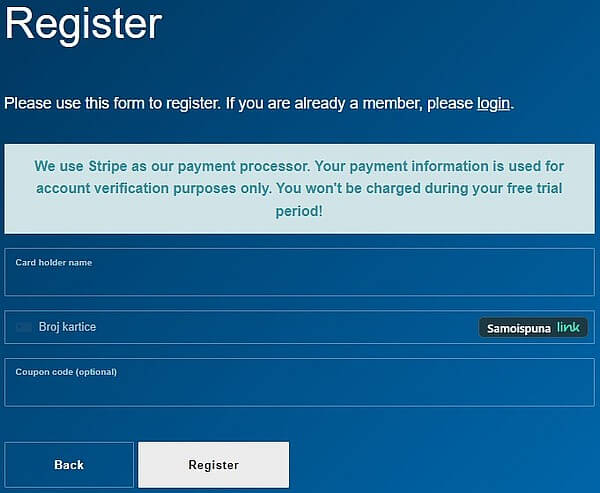
Yes, that wasn’t the case before, and just registration was enough.
After contacting Book Bolt, we were informed that they introduced this because some were signing up multiple times for the trial period and trying to use the service for free that way.
Now they can’t do that anymore because once they enter card details, they will be recorded.
They can only proceed when they decide on one of the paid options.
Book Bolt Tools
Although Book Bolt has many tools, here I will mention only some.
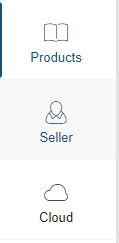
We choose the tool in the left toolbar with icons.
Products
Under Products > Search products, we can list already published e-books by term or category.
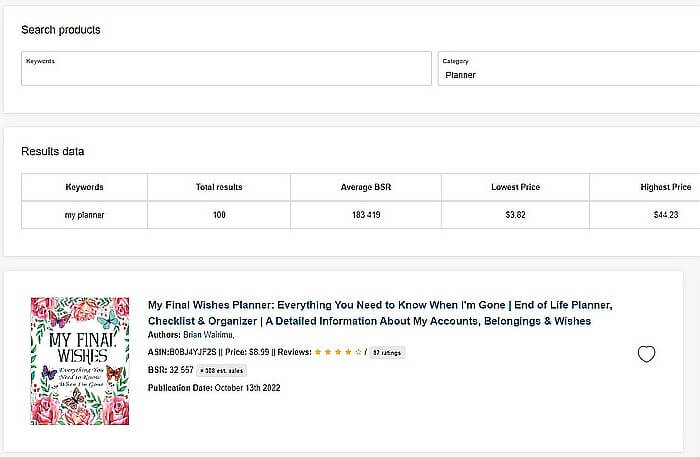
From the data, we’ll see the lowest and highest prices as well as the Average BSB.
BSR is a number that Amazon assigns to each product based on its sales and popularity compared to other products in the same category.
Specifically, the lower the BSR number, the more popular the product and the better it sells.
For example, a product with a BSR number of 1 is the best-selling product in that category, while products with higher BSR numbers rank lower in popularity and sales.
Book Bolt cloud
The Cloud option will give us the most statistical data about a type of e-book.
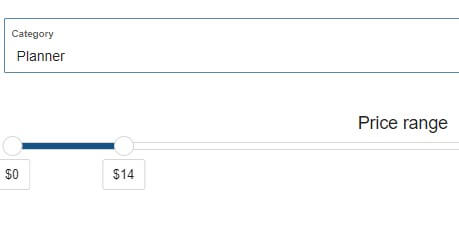
First, under Category, we write the category of interest and determine the previously described BSR range.
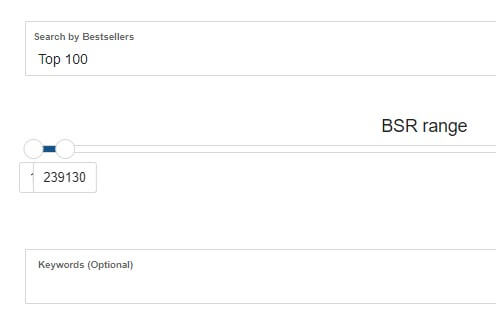
Afterward, using the Price range, we define the price range of the e-book by entering the lowest and highest price.
This way, we’ll get detailed information about published e-books with data about the author, publisher, price, number of sales, etc.
Here, you’ll find the keywords, expressions authors used to make their e-books discoverable.
Keywords
The Keywords option will be most needed before putting the book on sale.
For example, we entered “planner” because we plan to sell this type of e-book.
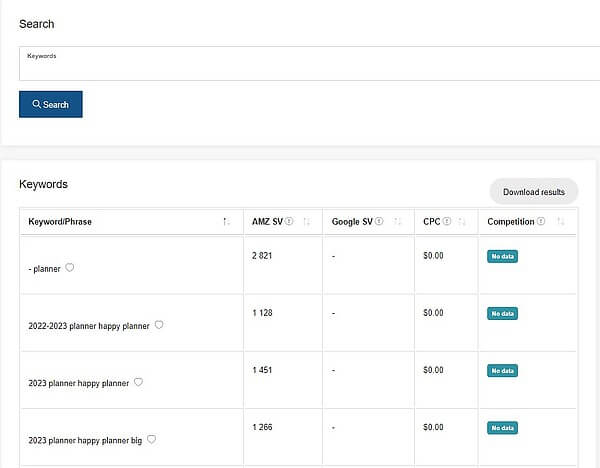
All terms will be listed according to a specific order.
- AMZ SV indicates how many times the term is searched on Amazon.
- Google SV indicates how many times the term is searched in Google searches.
- CPC Cost Per Click will become relevant for paid advertising if you plan to advertise the e-book through paid options.
- Competition is the competitiveness of the term.
When entering terms that define your book, it’s best to choose those that are highly searched but have the lowest competition.
Creating an E-Book
In the first part of Book Bolt, you have all the statistical data and detailed information about the products.
To create a new book, in the upper left corner, select the Create option.
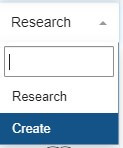
Write the project name so you always know what it’s about.
For a new project, we need to define some basic terms.
Project type
Here, we chose Paperback: Cover and interior.
This means we’ll create both the cover and the interior of the book, but you can also choose just the cover or just the content.

Trim size
The trim size is the book’s outer dimension.
Here it’s 6×9 inches or 15.24×22.86 centimeters.
That’s the standard size for planners.
If you’re working on a different category, search by the book’s name in that category to find out its standard dimensions.
Interior & Paper Type
Here, we marked the Black & white interior with white paper, meaning the book’s interior will be black and white with a white background.
Bleed
In our example, Bleed is marked as an option.
This is a technique where a few extra millimeters of space are added beyond the book’s edge.
If the book is printed, this added part is trimmed after printing.
The program determines how wide this added margin will be.
For e-books delivered only in digital format, Bleed is turned off.
Page Count
Here, you define the number of book pages.
The page count depends on the book type. For example, if you’re making an annual planner, it will have 365 pages.
Once you’ve defined everything, the blank template will look like the image.
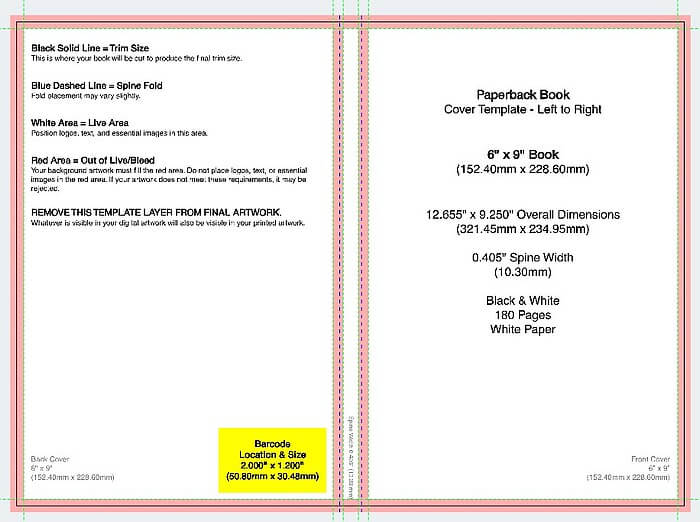
The left side will be the back and the right side the front cover of the book.
Cover Image
Since we first need to define the book cover, we have to upload an image that seems the best choice.
By pressing the Image icon, you open the screen with images on Pixabay or Unsplash.
Using My Uploads, you can also upload your image.
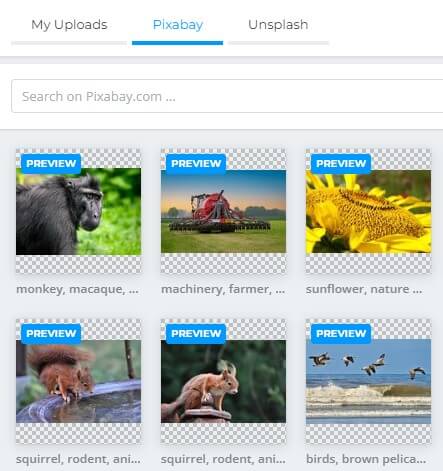
The image you’ve chosen must be dragged over the borders marking the book’s edges.

Add a text
Now, we insert text by pressing the text icon.
You’ll notice various types of text, including rounded, irregular, or text composed of multiple patterns.

You can continue adding elements to the book cover until you’re satisfied with its appearance.
Adding a logo to the cover can build brand recognition and lead to repeat purchases.
Book Content
Page templates
By pressing the Page Templates icon, we open a wide range of templates for the e-book content.
Specify the type of book you’re creating and existing templates will be listed.
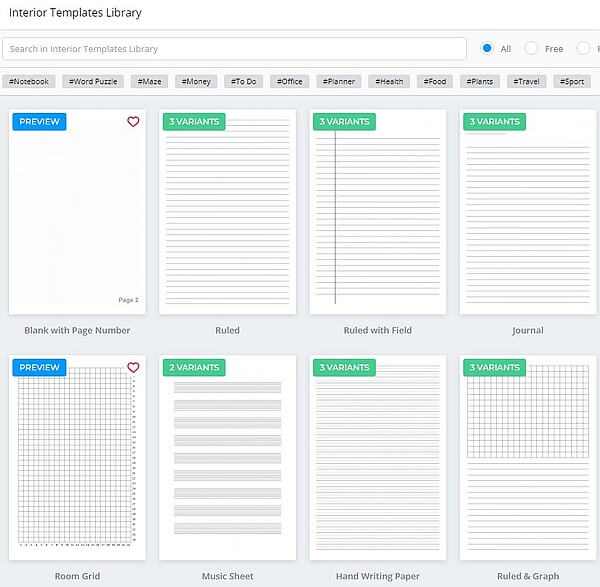
Each template, when selected, can be further defined.
For example, line spacing, margins, and more.
If you are happy with the way it looks, click on the Apply button to make these changes on all pages.
This will automatically apply the template to all existing pages.
Downloading the finished e-book
BookBolt has an autosave function that will save your work every so often.
If you want to be sure it’s saved, press the Save button.
Once you are content with the project, you may proceed to download it.
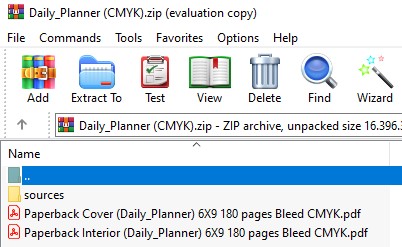
Do this by pressing Download and selecting Download Current Project CMYK (Printed Books).
This option will download both the cover and the content of the book in CMYK color format.

CMYK stands for “Cyan, Magenta, Yellow, Key (Black)” and represents the standard color model used in the printing industry.
The downloaded project will be compressed in ZIP format and will contain two PDF files as well as used elements (images).
Conclusion
Although the initial description lacked detail, I have provided clear instructions for writing a low-content e-book.
I also think that anyone who has ever worked in an image or text processing program can easily navigate it within five minutes.
Note: Never copy others’ work.
If you lack ideas for titles or text, use AI programs of which there are hundreds.
Be original!
If you have any questions, please post them in the comments below the text.
You can find the discount code at: