Inkscape: How to Prepare an Image for Laser Engraving?
If you’ve always wanted to engrave an image onto a specific material, here we’ll describe the basic process.
Experience the power of creativity with Inkscape, the free program that allows you to design and edit vectors with ease.
What Is Inkscape?
Inkscape is a free vector graphic program that enables users to create and edit various vector graphics.

Vector graphics are mathematically defined curves and shapes that allow infinite scaling without losing quality.
This makes Inkscape an ideal tool for designing logos, illustrations, icons, posters, and much more.
Inkscape supports various file formats, including SVG, PDF, EPS, and AI, making collaboration with other vector programs easier.
There are versions for multiple operating systems (Windows, Linux, macOS), and you’ll choose the version that suits you.
You can download Inkscape here.
How to Prepare an Image for Laser Engraving?
Once you’ve launched the program, you’ll need to adjust some parameters.
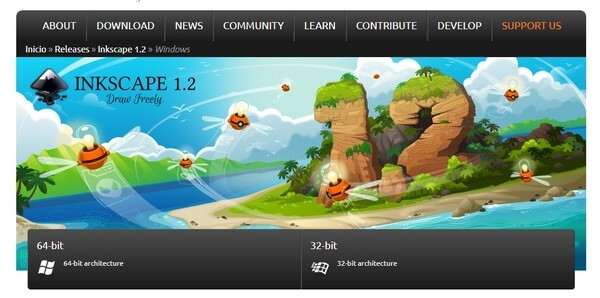
The introductory screen is similar to existing graphics processing programs, so we won’t dwell much on its description.
We had already selected the A4 format.
If you want a different format, you can change it using File> Document Properties.
Entering an Image for Editing
When entering the image, we must select a couple of non-critical options.
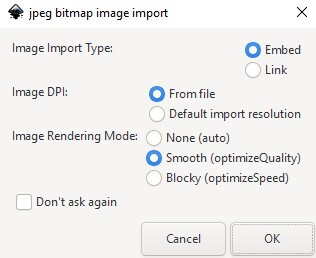
We left Image DPI as ‘From file,’ which means the program will retrieve this data from the image.
DPI stands for Dots Per Inch.
For example, for quality printing on a printer, DPI should have a value of at least 300DPI.
For Image Rendering Mode, we choose Auto.
If you’re using the program on a considerably older computer, select the Blocky option.
Image Conversion
The image we loaded was in JPG format, and the program supports a wide range of other image formats.
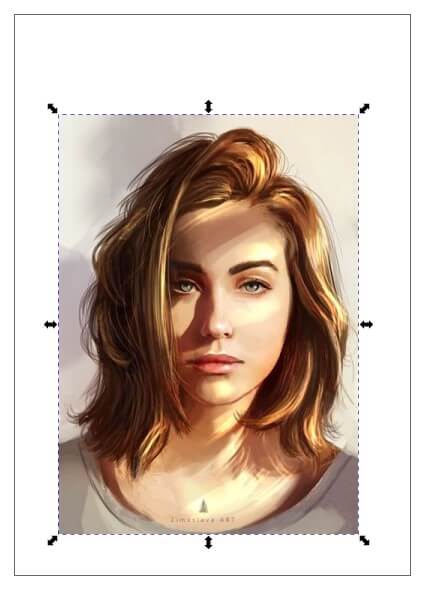
If you want to enlarge or reduce the document, you do so with the “+” and “-” keys.
If you want to scale the image, press the CTRL key and grab one of the arrows around the image.
This way, you’ll adjust the image size without losing the aspect ratio.
Trace Bitmap Function
Select the image and use the Path> Trace Bitmap command to enter the conversion.
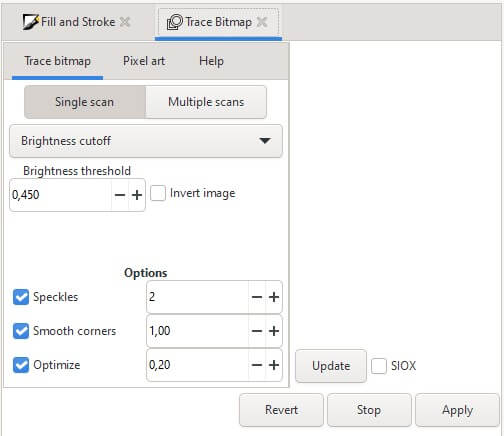
On the panel that opens, you can leave the settings at their initial values.
By pressing Update, you’ll see how the converted image will look.
If you’re not satisfied with the appearance, try changing the parameters and press Update each time to see the change.
Press Apply to finish the conversion.
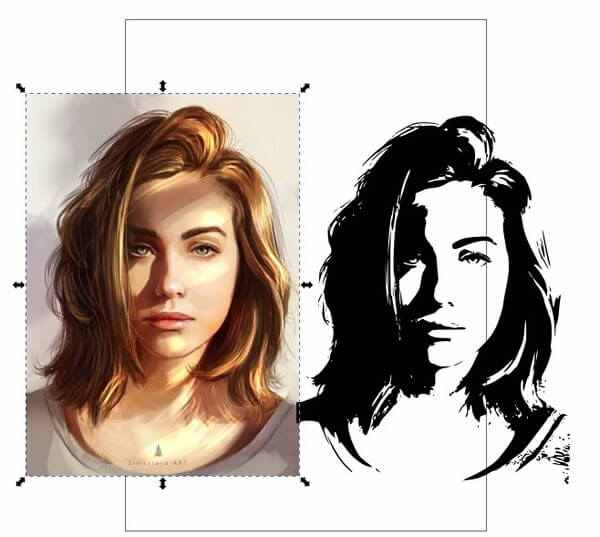
If you don’t see a change, it’s because the converted image is under the original. Just select the image and slightly separate it.
Now, select the original and delete it using the “Del” key because it won’t be needed anymore.
To clarify, we’ve converted the image from raster format to vector.
When you send your work for laser engraving, it’ll be easily scalable without any loss of quality.
As you can see, the image is black and white because color is unnecessary for engraving.
Entering Text
By clicking on the icon as shown in the picture, we begin entering text.

The text editor is similar to those in all programs described here, so we won’t describe it much here.

You can adjust the font type, size, line spacing, and alignment.
Type the text that suits you.
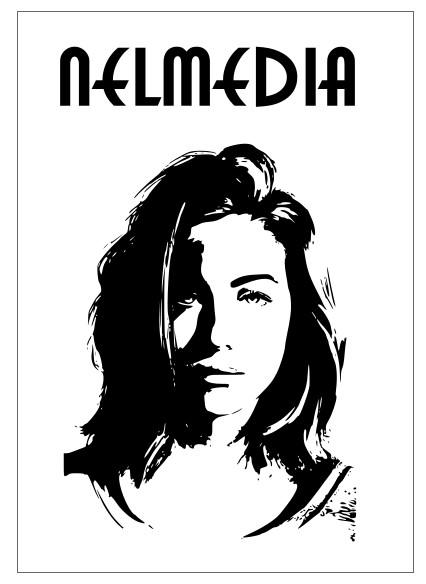
Converting Text to Paths
When satisfied with the text appearance, we need to convert it, just like the image.
Select the text and use Path> Object to path to convert it.
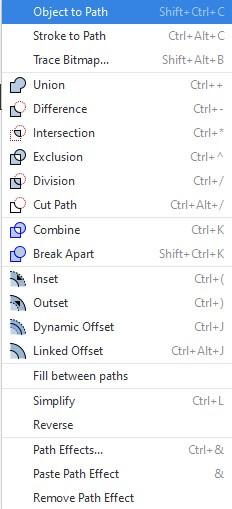
As you can see, this command transforms the text object we manipulated by changing the font, letter spacing, size, and letter spacing into a vector shape.
We won’t be able to edit it as text anymore but as a set of curves.
Curves
Apart from various graphic objects (circles, square, polygons), Inkscape has a robust tool for creating curves.
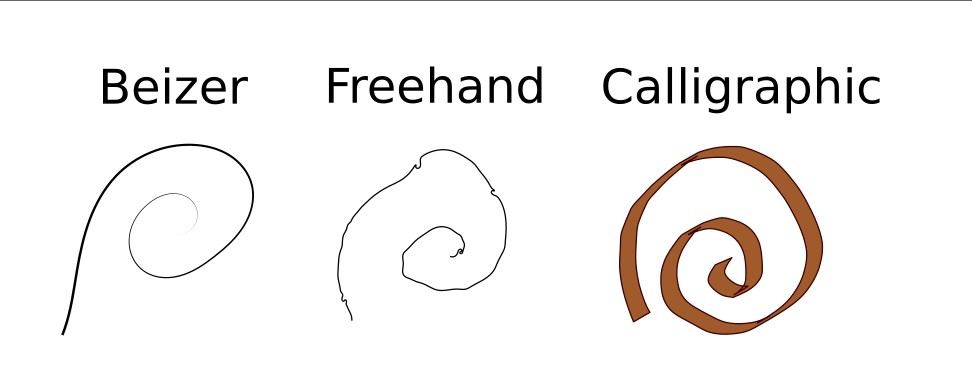
You’ll probably mostly use Bezier curves, and when creating them, there are many other additional options available.
They are suitable for creating various ornaments, but we’re not using them in this example.
Curves don’t require conversion.
What Have We Been Doing So Far?
First, we converted the image from a graphic format to curves.
Then, we also converted the text object into curves.
To ensure the conversion was done correctly, we need to check it.

By clicking on the icon below the arrow (Edit path by nodes), we enter the curve editing mode.
Now, if you select the text, it should display a set of curves (points).
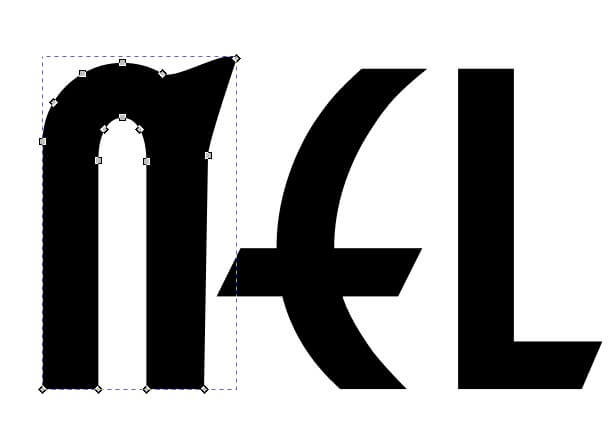
By dragging any point on the curve, you can change its position and thus the shape of the letter.
So, every object you insert into the image needs to be converted in the same manner.
When satisfied with the appearance, save your work using File> Save as.
We recommend one of the universal formats, usually PDF, or optionally DXF.
If you want to edit something later, save everything in SVG, which is Inkscape’s basic format.
Laser Cutting
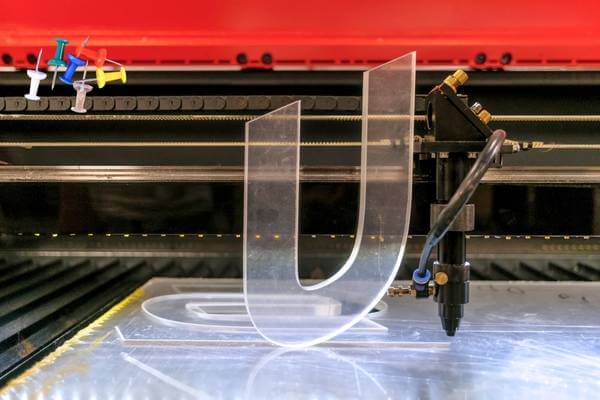
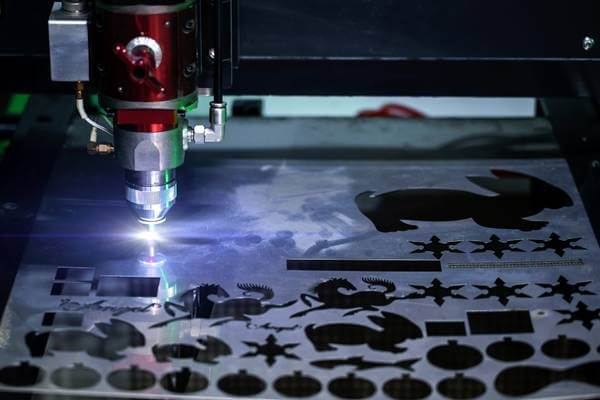
If you want to cut materials, then “dxf” is one of the universal formats.
However, you’ll need to do everything in one of the CAD tools and determine tolerances and scale, which is the subject of one of the upcoming posts.
For such preparation, you’ll use AutoCAD or a similar CAD program.
Inkscape Extensions
Inkscape is one of the most widespread free programs for creating vector graphics.
There is an extension for it that, if you own a laser, can provide a CNC code.
You can download the extension here.
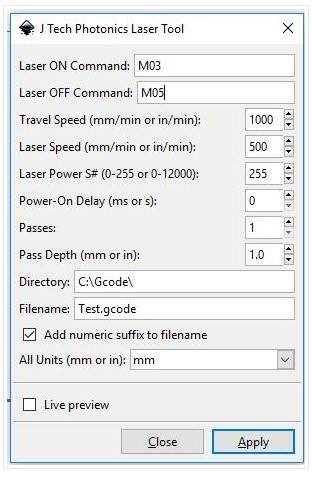
It will convert everything you do in the Inkscape program into G-code used by the laser.
We strongly advise against using it for individuals without experience.
CAUTION: Laser, without following protective measures, can be extremely dangerous. It can cause eye damage, injuries, material damage, and fire!!
If you’re new to the Inkscape program, we recommend saving your work every few minutes.
This is because when exploring new features whose purposes you’re not familiar with, you can effectively block the program.
For example, we made this in five minutes.
The mentioned laser extension is not the only one.
As one of the more popular vector programs, Inkscape has attracted a range of contributors, and now the number of various useful extensions has exceeded 7000.
In addition to various laser extensions, there are also extensions for plotters, frame and ornament creation, instrument and appliance signage, 3D printers, guides, barcodes, etc.
You can search and download the complete list here.
If you have specific technical knowledge and want to have your device, you can find a wide selection of lasers on Amazon.
Frequently Asked Questions
Conclusion
Inkscape is a very good program for creating vector graphics.
However, it takes a little time to learn how to work with it.
If there is interest, we can cover all the basic objects and effects in Inkscape.
Finally, we must mention professional programs with the same purpose: Adobe Illustrator, Corel Vector, Affinity Designer, and an online free program Vectr.
As usual, you can leave your questions and suggestions in the comments below or contact us via email.


